Welcome back! Ever have a project that just seems to be a comedy of errors? Well, this was one of those.
Working with the Less Is More (#469) Traditional Christmas challenge. This was originally going to be a single layer CAS card. Somehow, I was a real fumble fingers and smeared ink left and right.

Follow along with me while I explain what I wanted to do and how I fixed the card as I proceeded.
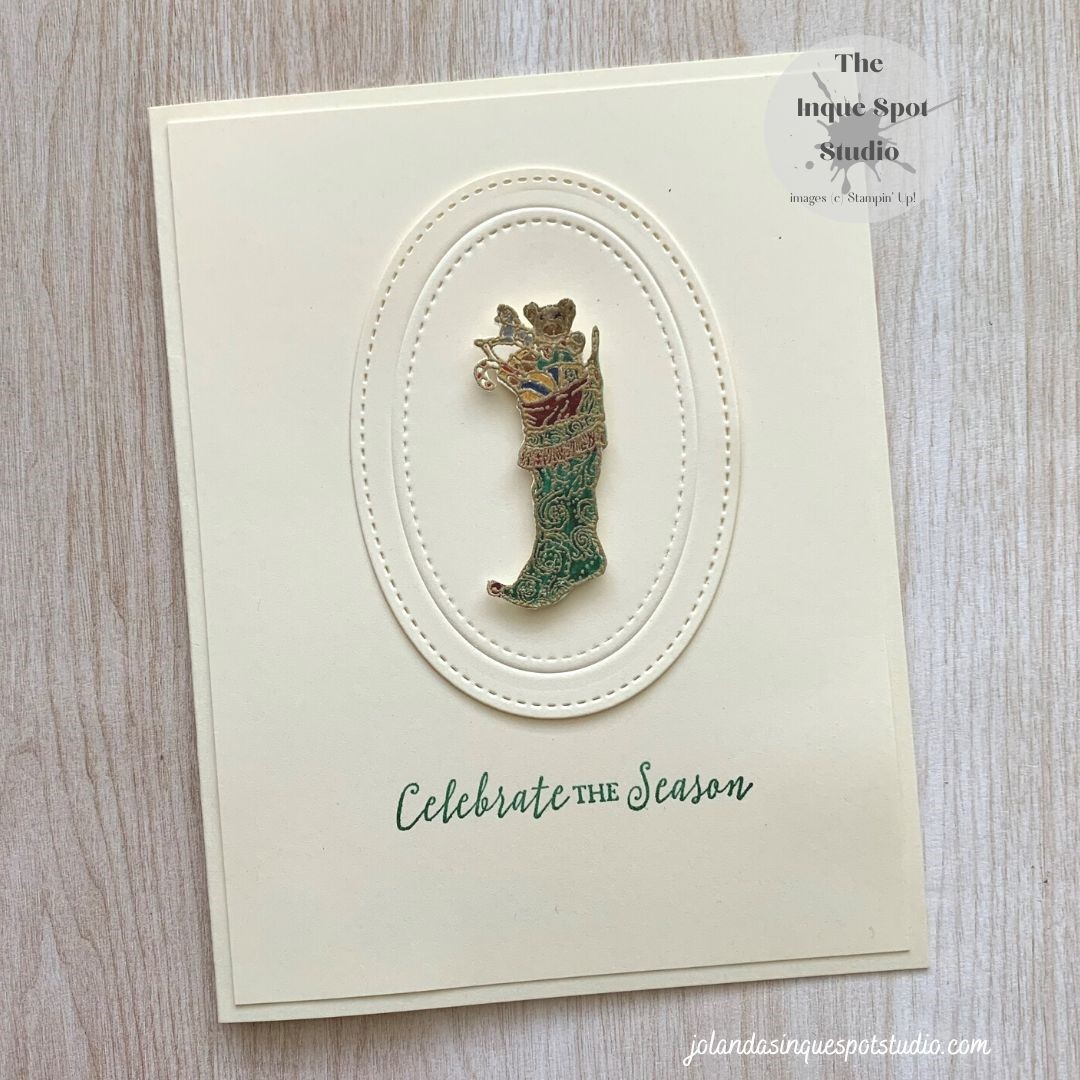
Here is the result:
Steps:
- Card Base (#1): (8½” x 5½” scored at 4¼”) Very Vanilla cardstock.
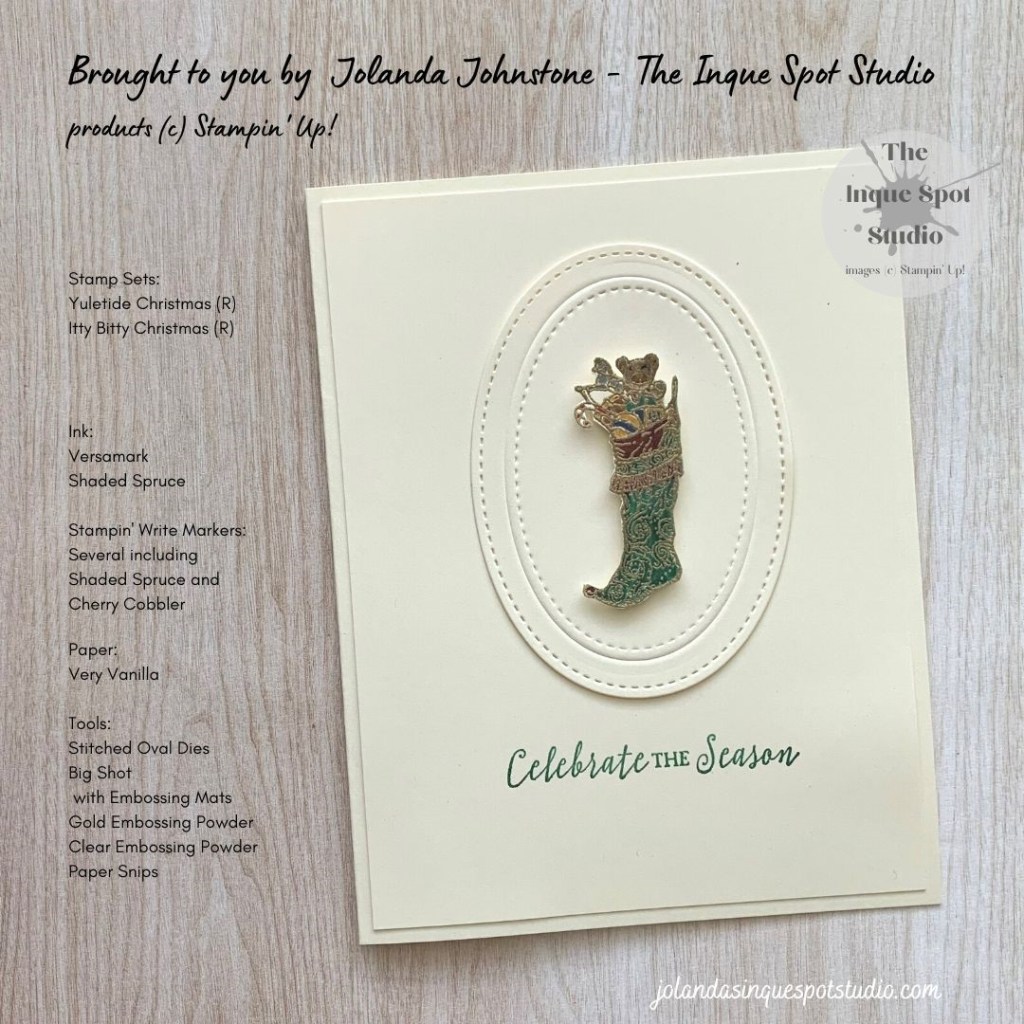
- Originally, the cute Christmas Stocking image from the retired Yuletide Christmas stamp set was stamped with Versamark ink and heat-set with Gold Embossing Powder on the card front.
- Using Stampin’ Write Markers, the Stocking was colored with Shaded Spruce and Cherry Cobbler and the Toys with a variety of other colors.
- As I was about to emboss the Stitched Oval, I smeared Shaded Spruce ink. I tried a bit of water coloring to see if I could save it but alas it looked awful.
- Paper Snips to the rescue…the card base was cut in two and the Stocking was fussy-cut.
- Background Panel (#1): (4” x 5¼”) Very Vanilla cardstock.
- The other half of the original card base now became a layer.
- Using the Big Shot Die-Cutting Machine and the Embossing Mats, I embossed the Sizzix (1¼” x 2¾”) Stitched Oval die.
- More ink…somehow, I think from my Stamp-a-ma-jig Positioning Tool plastic sheet, I smeared black ink all around the edges and the backside.
- Fix number two. I die cut the Embossed Stitched Oval with the (2¼” x 3¼”) Stitched Oval die.
- Background Panel (#2): (4” x 5¼”) Very Vanilla cardstock.
- Grabbing another card layer, I successfully stamped the greeting, Celebrate the Season, from the retired Itty Bitty Christmas stamp set. The greeting was stamped into Versamark ink and then into Shaded Spruce ink and heat-set with Clear Embossing Powder.
Getting another card base, the Greeting Background Panel was adhered, the Double Die-Cut Embossed Oval was adhered, and the Fussy Cut Christmas Stocking was popped up with Dimensionals, the card went from a one-layer concept to four. Yet it is still a CAS (clean and simple) card with plenty of “white” space.
I’m just celebrating that I made this card, LOL.
Thanks for spending some of your time with me today. Cheers, Jolanda.
Using Sizzix Dies, I am entering this card into the Dies R Us (#197) Anything Goes challenge.

Need a card? Ask me and I can create one for you. Want the supplies to create your own, let me know and I can help you with that too!
Like this card? Want to make one similar?
I would LOVE to be your Stampin’ Up! Demonstrator. If you live in the United States, you can order your paper crafting supplies from my on-line store. It is so easy. THANK YOU!
If you choose to shop with me today, please use HOSTESS CODE: C7E9W22R (July 2022) if you spend less than $150.00.
The new Holiday Catalog has arrived and Sale-a-bration is in full swing. Lots of lovely new things.

Smashing make
Kathyk
LikeLiked by 1 person