
Lot’s happening this week. As a Stampin’ Up! Demonstrator, I will be attending tomorrow’s session of ON-TOUR. An event focused on networking, stamping, and business training. Yippee!
A perk of attendance was receiving a new stamp set from the upcoming 2022/2023 Annual Catalog. Four different stamp sets were sent out and I received Bottled Happiness. We have been encouraged to create a swap card and this is mine.
To support this endeavor, I selected to use THE INQUE SPOT STUDIO Sketch and Weekend Keep Stamping Challenges posted on my website for last weekend.


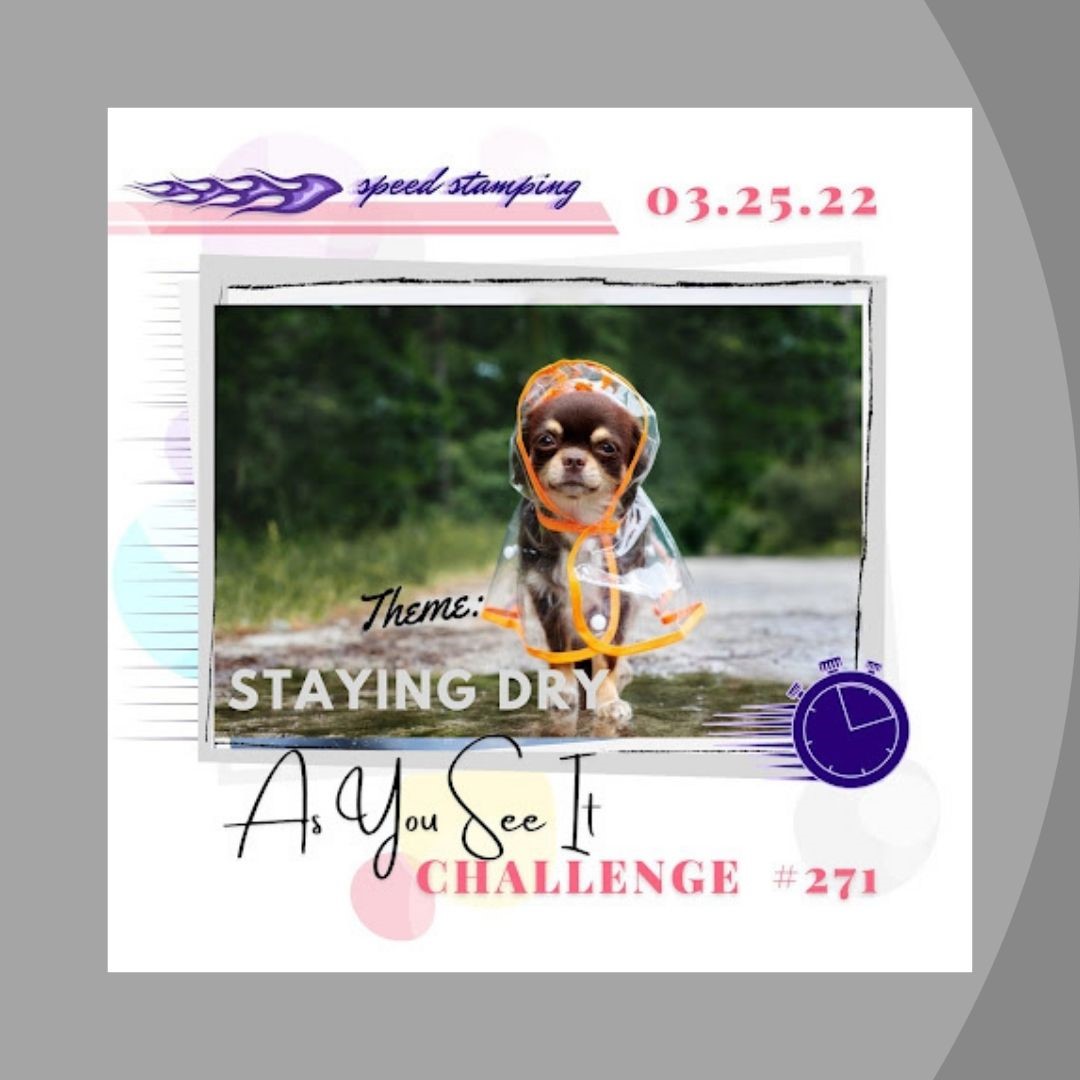
I also selected the Colors from the April Facebook Stampin’ Up! Only Color Challenge, and tried my hand at the Speed Challenge issued by As You See It (#271).

How long do you think it took me to make my swap card?
Speed Challenge Rules: Have fun and see what you can create in under 10 minutes! You can design it in your head or sketch it out first. You can gather all your supplies ahead of time. But once you start the cutting/stamping/die cutting/embossing /etc. process, you must start the timer!
To that end, I lined up and mounted the two-step Floral Bouquet stamps on the Stamparatus Positioning Tool and added the other stamps chosen to the stamping blocks. I put the Ink Pad and Stampin’ Write Marker colors at hand along with a Sponge Dauber. I had a note of the cut sizes for the papers I chose to use. The circle die was placed by the Cut & Emboss Machine and the Umbrella Builder Punch was on the worktable.
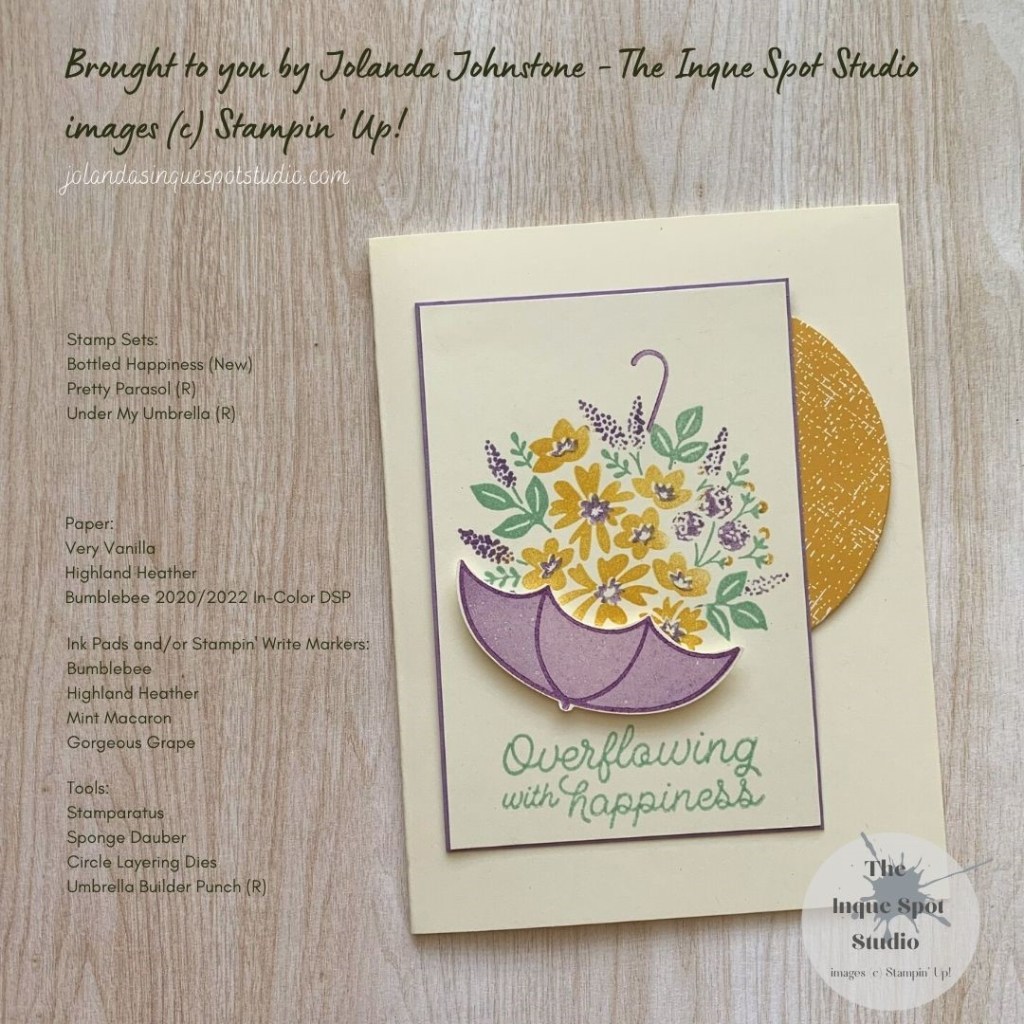
Here is the result:
Steps:
- Card Base: (8½” x 5½” scored at 4¼”) Very Vanilla cardstock
- Accent Panel: (a smidge larger than 2¾” x 4¼”) Highland Heather cardstock.
- Focal Panel – Floral Bouquet and Sentiment: (2¾” x 4¼”) Very Vanilla cardstock and Bottled Happiness stamp set.
- Step (1)
- The cardstock was set in place on the Stamparatus Positioning Tool at the pre-defined marks and held down with a bit of repositionable tape and the magnets.
- With a Sponge Dauber, Bumblebee ink was added to the larger Daisy flowers on the Floral Bouquet stamp and Highland Heather ink was added with the Stampin’ Write Marker to the Hyacinths. A little extra Bumblebee ink needed to be added for a more complete stamped image. But that is the beauty of the Stamparatus, as you can re-stamp as often as needed.
- Step (2)
- The second Floral Bouquet stamp for the two-step process was inked with Mint Macaron ink and the tiny Floral Centers were wiped clean and Highland Heather ink was added using the Stampin’ Write Marker. Success, no re-inking or re-stamping.
- Step (3)
- The sentiment, Overflowing with Happiness, was stamped at the bottom of the panel with Mint Macaron ink.
- Cross Strip – Umbrella: (3” x 1”) Very Vanilla cardstock scrap.
- Theme: per the As You See It challenge was Staying Dry. Umbrellas came to mind. For this card, the umbrella was no longer needed to stay dry as the sun was coming out and I decided it would be a great place to hold my Spring Bouquet.
- The solid Umbrella from the retired Pretty Parasol stamp set was stamped with Highland Heather ink.
- Using Gorgeous Grape ink stamped-off once, the Umbrella Ribs from the retired Under My Umbrella stamp set were added to the solid Umbrella.
- Additionally, the top of the Umbrella Handle was also stamped-off once with Gorgeous grape ink and added to the top of the Floral Bouquet.
- The Umbrella was punched out using the retired coordinating Umbrella Builder Punch.
- Semi-Circle: (1¼” x 2¾”) Bumble Bee Cross Hatch patterned piece of paper from the retired 2020/2022 In-Color Designer Series Paper pack die-cut with one of the circle dies from the Layering Circles Dies set.
Time is ticking but we are still in good shape.
The Focal panel was adhered to the Accent panel. The Semi-Circle was adhered in behind (the sun) and then the panel was adhered to the card base. A few Dimensionals were added to the Umbrella and then it was popped in place.
And we, are done! Time: 8 minutes and 54 seconds, Phew! I made it!
Thanks for spending some of your time with me today. Cheers, Jolanda!
Need a card? Ask me and I can create one for you. Want the supplies to create your own, let me know and I can help you with that too!
Like this card? Want to make one similar?
I would LOVE to be your Stampin’ Up! Demonstrator. If you live in the United States, you can order your paper crafting supplies from my on-line store. It is so easy. THANK YOU!
If you choose to shop with me today, please use HOSTESS CODE: 9EGHRVUT (April 2022) if you spend less than $150.00.

Beautiful card, Jolanda! I was hoping I’d get that stamp set for OnTour but I got the Limited Edition one instead! Oh well! I love how well you prepared for the speed challenge – the key for success! The colours are absolutely beautiful and your design is perfect for the theme! Thanks for getting your adrenaline pumping with As You See It Challenges!
LikeLike
So fun to get a sneak peek and what a cute sneak peek it is! Love your little flower-filled umbrella and the colors and sketch are fun too! Thanks for playing with our Speed Challenge this week at As You See It!
LikeLike
Loving your sneak peek Yolanda (I might have to take another look at this set!) and your blog post about your card preparation made me chuckle – preparation is so key with a speed challenge and I love how you totally thought this through. You rocked it! Thanks for playing our speed challenge over at As You See It!
LikeLike
Oh yes, Jolanda! Great planning and that’s everything in a speed challenge. Beautiful result too. Thanks for joining us again at As You See it.
LikeLike
Oh beautiful, Jolanda! I love what you did with this set – so incredibly fun! Great prep, too, it so paid off! I am in aw of the coloring of your flower! Thanks so much for playing at As You See It!
LikeLike
that’s gorgeous Jolanda! Fab to see you as a top pick at AYSI – in very good company too!! 🤣
LikeLike