
How can it already be Thursday? I am still catching up, but I wanted to share the card I created for my Inque Spot Studio Challenges to keep you stamping from last weekend.
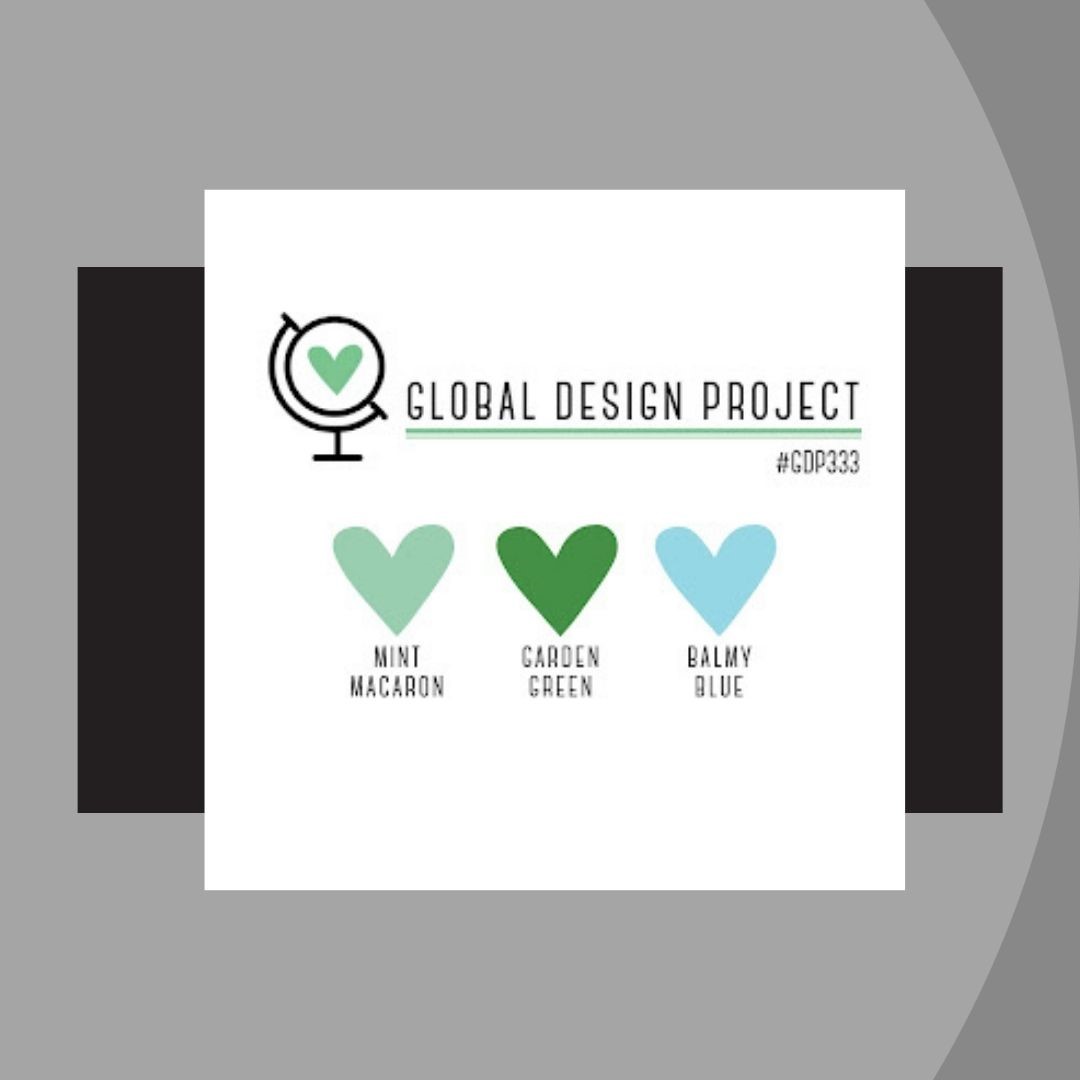
I chose to participate in today’s Facebook Stampin’ Through the Catalog suggested stamp set, Hello Beautiful and picked the colors from the current Global Design Project (#333) Challenge.

Here is the result:

Steps:
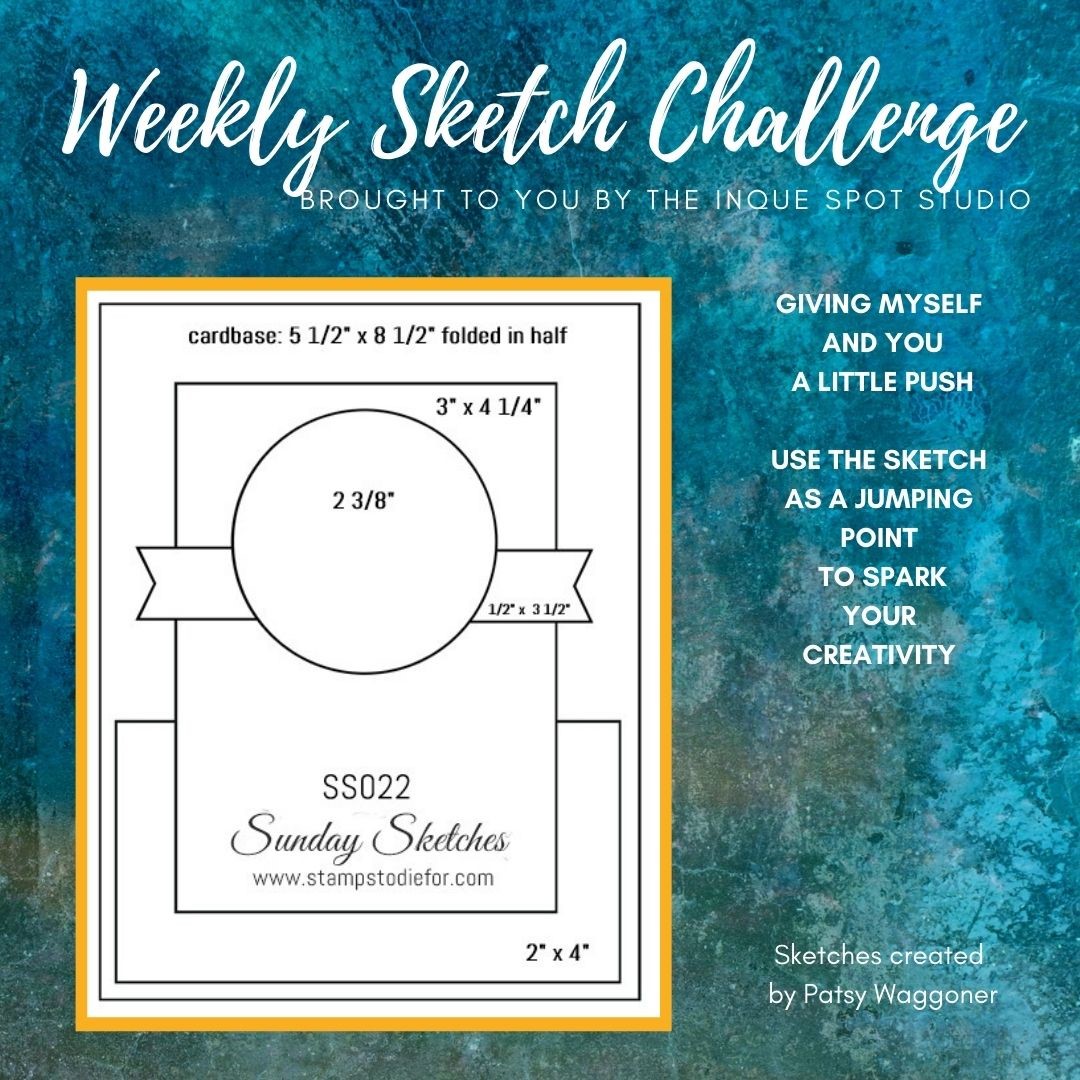
- Card Base: (8½” x 5½” scored at 4¼”) Smoky Slate cardstock.
- Background Panel: (4⅛” x 5⅜”) Basic White cardstock.
- A selection of Shapes, from the Hello Beautiful stamp set, were stamped both full strength and stamped-off once randomly with Mint Macaron, Balmy Blue and Garden Green inks.
- Some of the “white” space was filled in with an assist from two shapes found in the retired Work of Art stamp set with Smoky Slate ink.
- Some of the Small Detail stamps were selected and stamped to the collage with Basic Gray and Memento Tuxedo Black inks for added interest.
- The center of the stamped collage panel was die-cut with the (3” x 4⅜”) Stitched Rectangles Die.
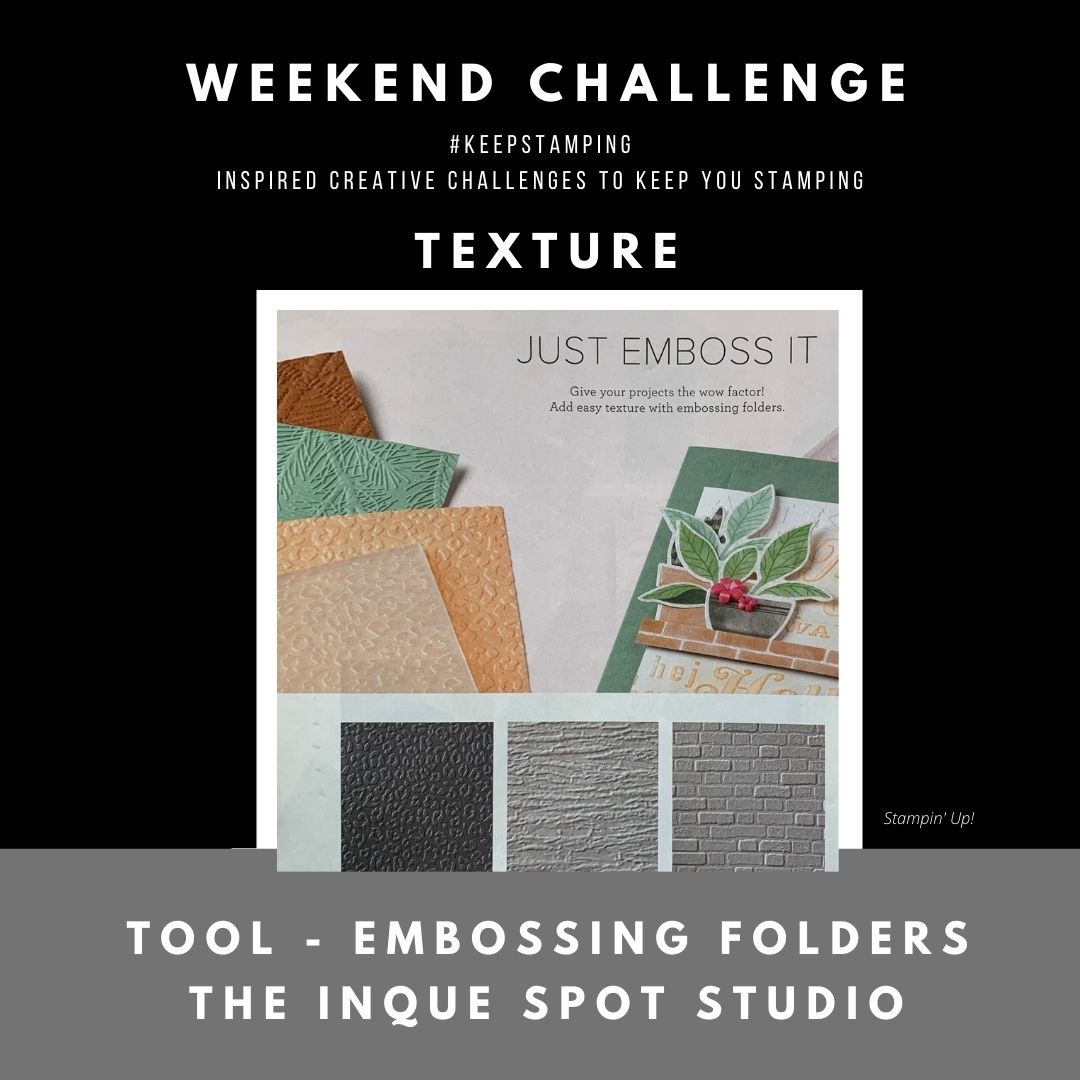
- Bottom Rectangle: (3½” x 2”) Mint Macaron cardstock dry-embossed with the Tasteful Textile 3D Embossing Folder.
- Center Panel: (3” x 4⅜”) previously die-cut from the Background Panel Collage and dry-embossed with the Painted Texture 3D Embossing Folder.
- Shape – Hexagon: (2” x 2¼”) Balmy Blue cardstock scrap die-cut with the Hexagon die from the Beautiful Shapes Dies set and then dry-embossed with the Hive 3D Embossing Folder.
- Sentiment Banner: (3⅛” x ¾”) Basic White cardstock scrap.
- The sentiment, this call for a Celebration, was stamped with Garden Green ink.
- The ends of the Banner were flagged using the Banners Pick-a-Punch.
- The Banner was then dry-embossed with the retired Subtle 3D Embossing Folder.
All of the elements were adhered. I prefer to have the edges of my card base show as it creates a nice frame for the rest of the card, therefore I often have an extra panel that layers on to my card base.
- The Background Panel Frame was adhered to the card base.
- The Bottom Rectangle was adhered to the bottom of the Center Panel.
- The Center panel was popped up with Dimensionals and added over the Background Panel opening.
- The Sentiment Banner was centered over the Hexagon and adhered.
- The Hexagon was popped up over the Center panel.
This is a card full of texture and dimension both with the choice of stamps used and most definitely with the use of Textured Embossing Folders. A very eclectic combination that works!
Thanks for spending some of your time with me today. Cheers, Jolanda!
Need a card? Ask me and I can create one for you. Want the supplies to create your own, let me know and I can help you with that too!
Like this card? Want to make one similar?
I would LOVE to be your Stampin’ Up! Demonstrator. If you live in the United States, you can order your paper crafting supplies from my on-line store. It is so easy. THANK YOU!
If you choose to shop with me today, please use HOSTESS CODE: UW7AAYQ2 (March 2022) if you spend less than $150.00.
