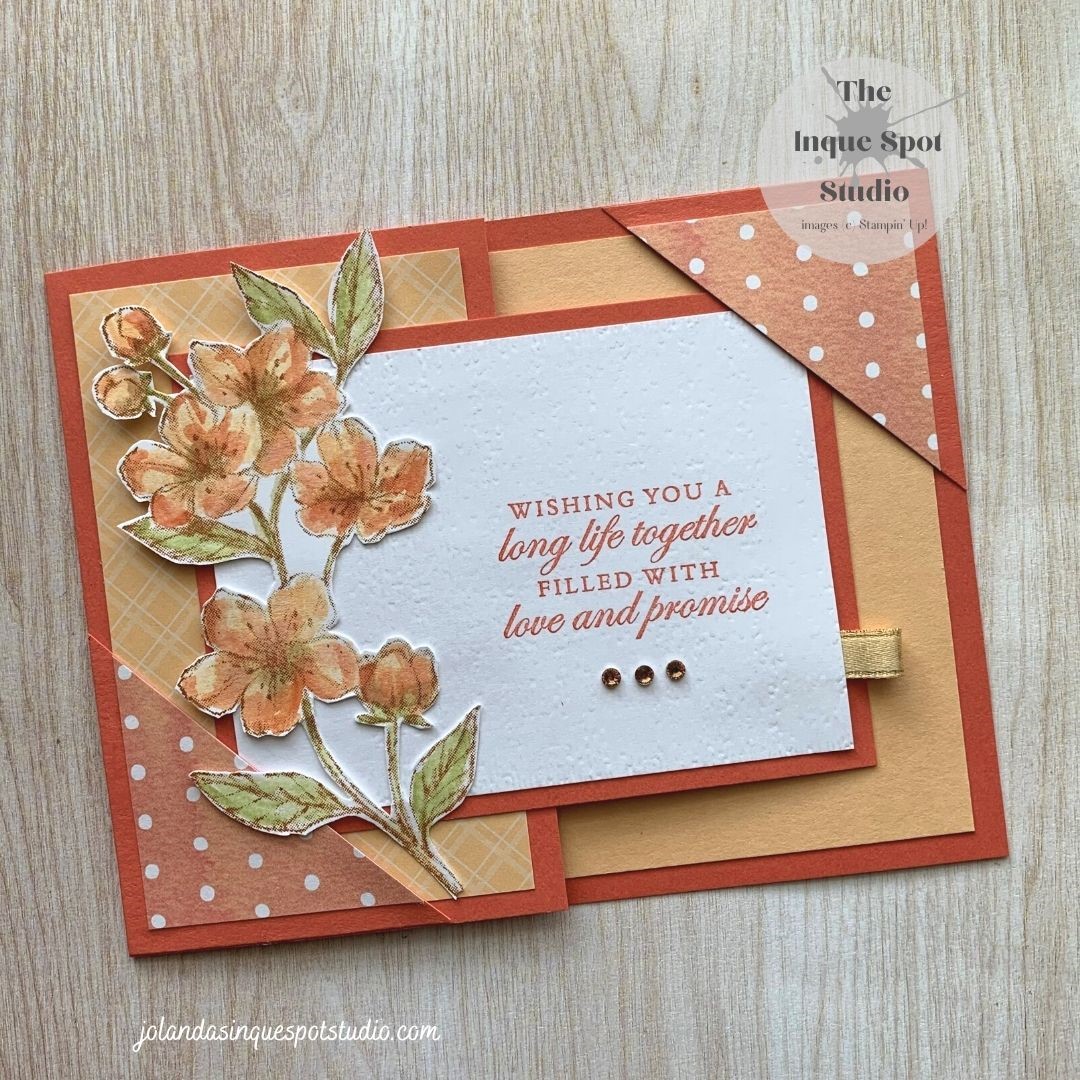
Just so happens that I have a friend’s wedding coming up. Her Spring wedding colors include a peachy coral theme, so…I chose those colors and the retired stamp set, Forever Blossoms because they both fit the theme.
A few challenges on the board: Double Trouble (#104) Challenge…Thing One: Spring Theme, Thing Two: Partner with Creative Creases (#26), and Thing Three Twist: Create a Fun / Fancy Fold project.

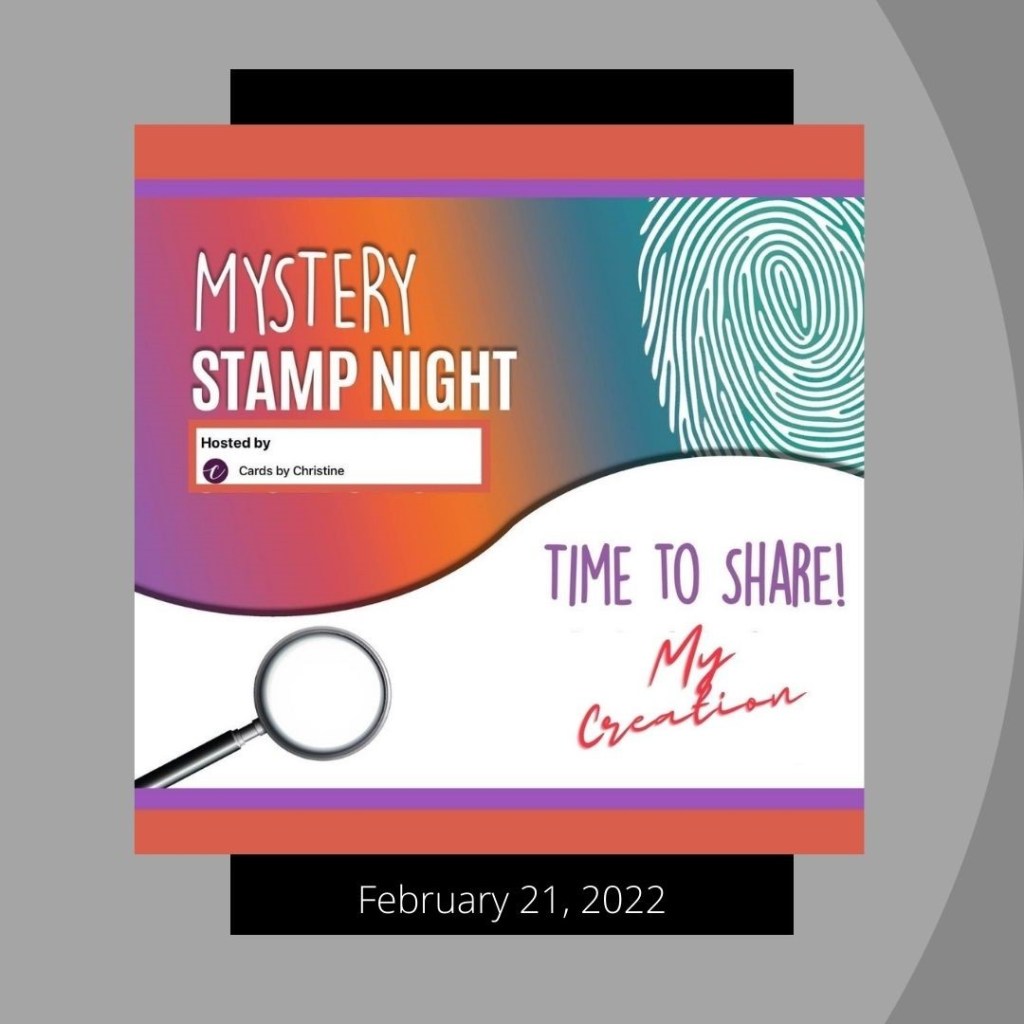
Christine Bertram’s – Cards by Christine Mystery Stamping Event on Facebook is a favorite of mine. I like to participate when I have time. Just so happens that this month’s card was a Fun Fold. So, I mixed it all up to create the Wedding Card.
Here is what I made following the Mystery Card instructions:

Steps:
- Card Base: (8¼” x 4¼” scored at 5½”) Calypso Coral cardstock.
- Inside Liner: (5¼” x 4”) Pale Papaya cardstock.
- I added a small stamped floral flourish to the lower left corner.
- Front Flap Decoration: (2½” x 3¾”) Pale Papaya Cross Hatch patterned piece of paper from the 2021 / 2023 In-Color Designer Series Paper pack.
- Focal Panel: (3¾” x 2¾”) Basic White cardstock.
- The sentiment, Wishing you a long life together…, was stamped with Calypso Coral ink on the right side.
- The panel was then dry-embossed with the retired Subtle 3D Embossing Folder.
- Accent Panel: (4” x 3”) Calypso Coral cardstock.
- Focal Image – Blossom Branch: (2½: x 4½”’) Basic White cardstock.
- The Blossom Branch was stamped with retired Saddle Brown Stazon ink.
- The image was lightly water-colored using Pale Papaya, Calypso Coral, Soft Suede and Pear Pizzazz inks and the Fine-Tipped Water Painter Brush.
- Once dry, the image was fussy-cut with Paper Snips. (If I have the coordinating Cherry Blossoms Dies set, I couldn’t find it).
- Fun Fold Corner Tuck: (1¾” x 1¾”) Pale Papaya/Calypso Coral White Dotted patterned piece of paper from the You’re A Peach Designer Series Paper pack, cut on the Diagonal.
- Corner Accent: (2” x 2”) Calypso Coral cardstock scrap also cut on the Diagonal.
- Inside of card:

Putting the card together:
- Add Inside Liner to inside of card.
- Adhere the diagonally cut Dotted patterned piece of paper to the diagonally cut accent piece of cardstock with diagonals flush with each other. Set aside.
- Add Cross Hatch patterned piece of paper to the front flap.
- If you are adding a ribbon element, add it now. I attached a Gold Shimmer Ribbon tab to underside of the Sentiment panel.
- Adhere Sentiment panel to Accent panel.
- Adhere complete panel to the card front flap ensuring that adhesive only goes on the left under side of the panel.
- Add the Corner Tuck to the upper right-hand corner of the exposed side of the card. Adhesive only goes along two sides – top and right. Not on the diagonal cut.
- Optional if it looks nice depending on your choice of patterned paper. By cutting the Corner Tuck square pieces diagonally, you have two halves. I decided to decorate the lower-left corner with the second half. This was adhered completely, all three edges.
- To complete the card, I added the Floral Branch to the left of the Sentiment panel and added Wink of Stella Glitter to the Blossoms. May be hard to see in the photograph but very pretty in reality.
What is a wedding without jewels? I also chose to glam it up with three Champagne Rhinestone Basic Jewels
I think my friend will be very happy to receive this special fun fold card.
Thanks for spending some of your time with me today. Cheers, Jolanda!
Need a card? Ask me and I can create one for you. Want the supplies to create your own, let me know and I can help you with that too!
Like this card? Want to make one similar?
I would LOVE to be your Stampin’ Up! Demonstrator. If you live in the United States, you can order your paper crafting supplies from my on-line store. It is so easy. THANK YOU!
If you choose to shop with me today, please use HOSTESS CODE: 9G9BQTUH (February 2022) if you spend less than $150.00. Remember that you can select FREE Sale-a-bration items with every qualifying $50.00 or $100.00 purchase this month.

What a beautiful fun fold card! I love the images and layout so much, especially how you tucked the corner into the card base. Thank you for playing in my Creative Creases Challenge and hope you can join in again soon.
Debbie
Secrets To Stamping
LikeLike
🧡🧡🧡 this card! Such a unique wedding card! (I mean that in a positive, happy way😁) The corner flap is a fun closure. Thanks for joining us at Double Trouble Challenge. Hope to see you again soon! Cheers, Crazy Cousin Makira
LikeLike
This is so pretty – love the colour scheme and the texture on the papers. Thanks for sharing with us at Double Trouble 🙂
LikeLike
Beautiful colors and floral image, and such a great and unique fold! Thank you for joining us at Double Trouble!
LikeLike
Love the color palette you used and texture to your fun fold… that extra corner tab I have not seen before but great idea for good closure and that flora and color is perfect. Thanks for sharing with us at Double Trouble and Creative Creases.
LikeLike
Such pretty colors, Jolanda! What a great idea to create a place to tuck in the focal panel. I am sure your recipient will be delighted with her card. Thank you for playing along with us at Double Trouble #104.
LikeLike