I thought I would to try to create a no layer card as there are a few challenges that asked for this treatment: Alphabet Challenge (N for No Layers) and Happy Little Stampers CAS (October).


I think one of the hardest things to do is create a card that has no layers. Keeping a card clean and simple but still interesting is a unique challenge. I overcame this obstacle by employing the Masking Technique.
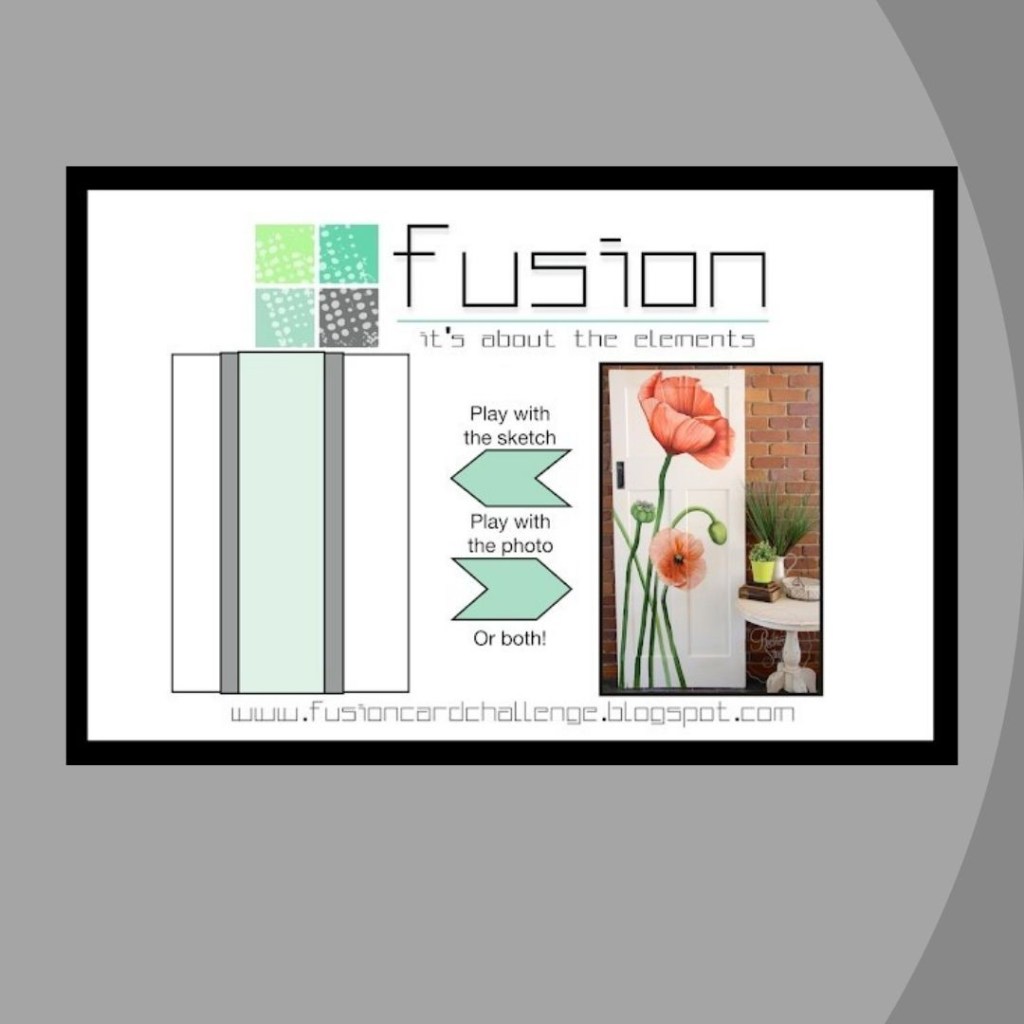
The Layout and the Theme were inspired by the Fusion Challenge (Poppy Door), The use of Circles was inspired by the CAS on Friday Challenge (#215) and the Circle Color – Gray – Inspired By Challenge (#191). The position and size of the Circles was inspired by the Paper Craft Crew Challenge (#447).


Understanding that I took a few liberties, here is the result:

Steps:
- Single Card Base: (11” x 4¼” scored at 5½”) Basic White Thick cardstock.
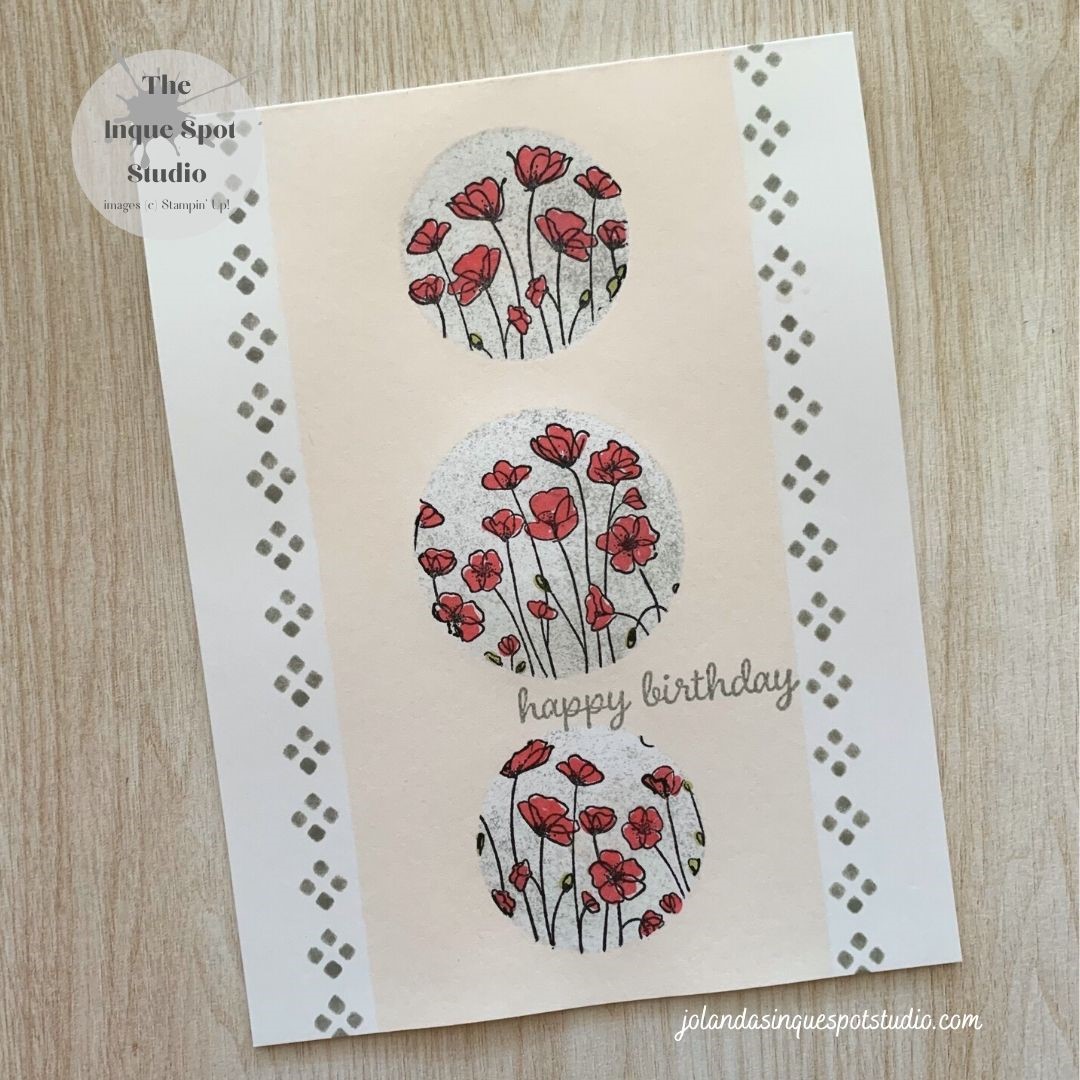
- From a piece of copy paper, I created a Mask with the Layering Circle Dies. Two smaller Circles (1⅜”) top and bottom and one larger Circle (1⅝”) centered. Using the Mask, I applied Smoky Slate ink with a Sponge Wedge to achieve a gray speckled finish that resembled rocks. Without removing the Mask, I then stamped the Field Poppies image from the Painted Poppies stamp set with Memento Black Tuxedo ink to add the images to the “rocks” taking care to ensure that the other “circles” were also masked with a Post-It-Note.
- Center Panel: (2¾” x 5½”) Petal Pink. I removed the Mask and then masked (covered) the circles with the original circle die-cuts using a temporary adhesive. With additional copy paper, I masked off the edges. I mixed a few drops of Petal Pink Ink Refill with 70% Isopropyl Alcohol in a Stampin’ Spritzer and sprayed the card front. I used Isopropyl Alcohol as it dries quickly. The masks were removed and the card was allowed to dry.
- Panel Accent: Smoky Slate. To mimic the accent edge of the center panel in the Fusion Sketch, I masked off the center and the edges of the card front allowing just with enough space for one line of the small Diamond pattern from the Adorning Accents Decorative Masks set. The Diamonds were colored with Smoky Slate ink using a Sponge Dauber.
- To complete the card, the Poppies were colored with the Light Poppy Parade and Light Old Olive Stampin’ Blends. The sentiment, Happy Birthday, from the Timeless Tulips stamp set was stamped with Smoky Slate ink between the lower circles.
- I did add an inside panel (not shown) to cover up the Stampin’ Blend bleed through on the back of the card front.
I know that my “rocks” are not pumpkins but they are “painted” and that in itself was a great inspiration to emulate with the “circle” theme. I am glad the idea that I conceived worked. I like how it turned out…
Thanks for spending some of your time with me today. Cheers, Jolanda!
Need a card? Ask me and I can create one for you. Want the supplies to create your own, let me know and I can help you with that too!
Like this card? Want to make one similar?
I would LOVE to be your Stampin’ Up! Demonstrator. If you live in the United States, you can order your paper crafting supplies from my on-line store. It is so easy. THANK YOU!
If you choose to shop with me today, please use HOSTESS CODE: TAFZCQ3Q (October 2021) if you spend less than $150.00.
