Delivery came today…and I just had to play with some of my new goodies!
I chose to use the Paper Craft Crew Sketch (#426) and the Stampin’ Through the Catalog stamp choice: Create with Friends.


A lot of fun patterns in the new Hostess offering: Pattern Play Designer Series Paper and could not resist the fun bright floral pattern.
And this is the result:

Steps:
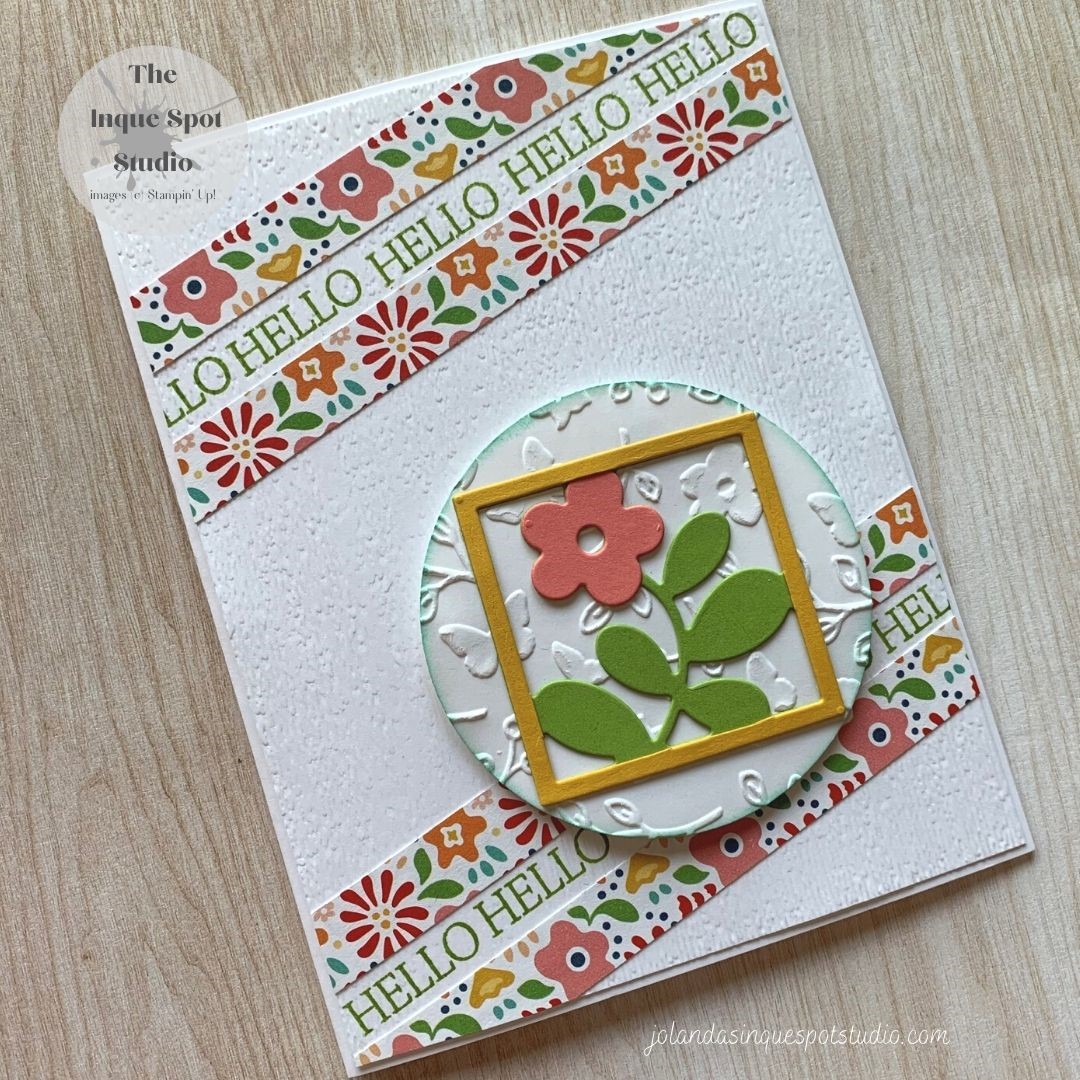
- I chose the floral pattern paper sheet from the new Hostess offering, Pattern Party Designer Series Paper. I cut two (½” x 12”) strips and fit them diagonally across the background panel (4⅛” x 5⅜”) with temporary adhesive. The sentiment, Hello, from the Create with Friends stamp set was stamped multiple times in a linear pattern between the two strips in Granny Apple Green ink. The pattern strips were removed and the panel was dry-embossed with the Subtle 3D Embossing Folder. Once embossed the floral strips were permanently adhered.
- The Floral Die Cuts in the new Floral Squares Dies are so cute. I chose the Posy square and die-cut it twice. Once in Granny Apple Green and again in Bumble Bee cardstock. I cut away the Posy from the Bumble Bee square to create a frame. There are matching floral die-cuts for the different flowers. I die-cut the Posy from a scrap of Flirty Flamingo cardstock. The Posy was adhered over the matching Granny Apple Green one and the Bumble Bee frame was adhered over the Granny Apple frame.
- I chose to frame the Floral Square Die piece with a Basic White cardstock Circle (2⅝”) die-cut with one of the Layering Circle Dies. This was so that the diagonal strips would not show through the open frame. The Circle was dry-embossed with the Meadow Moments Embossing Folder to add a little texture and carry-forward the floral motif. To differentiate the white on white, the Circle was sponged with Coastal Cabana ink using a Sponge Dauber.
I opted for a Basic White card base (8½” x 5½” scored at 4¼”) to keep the card light and breezy. The background panel was adhered and the Focal image was popped up with Dimensionals completing the sketch.
Such a cute card! Looking forward to play with more of the items that I unpacked today.
Thanks for spending some of your time with me today. Cheers, Jolanda!
Need a card? Ask me and I can create one for you. Want the supplies to create your own, let me know and I can help you with that too!
Like this card? Want to make one similar?
I would LOVE to be your Stampin’ Up! Demonstrator. If you live in the United States you can order your paper crafting supplies from my on-line store. It is so easy. THANK YOU!
If you choose to shop with me today, please use HOSTESS CODE: C9YFJ9WG (May 2021) if you spend less than $150.00.
