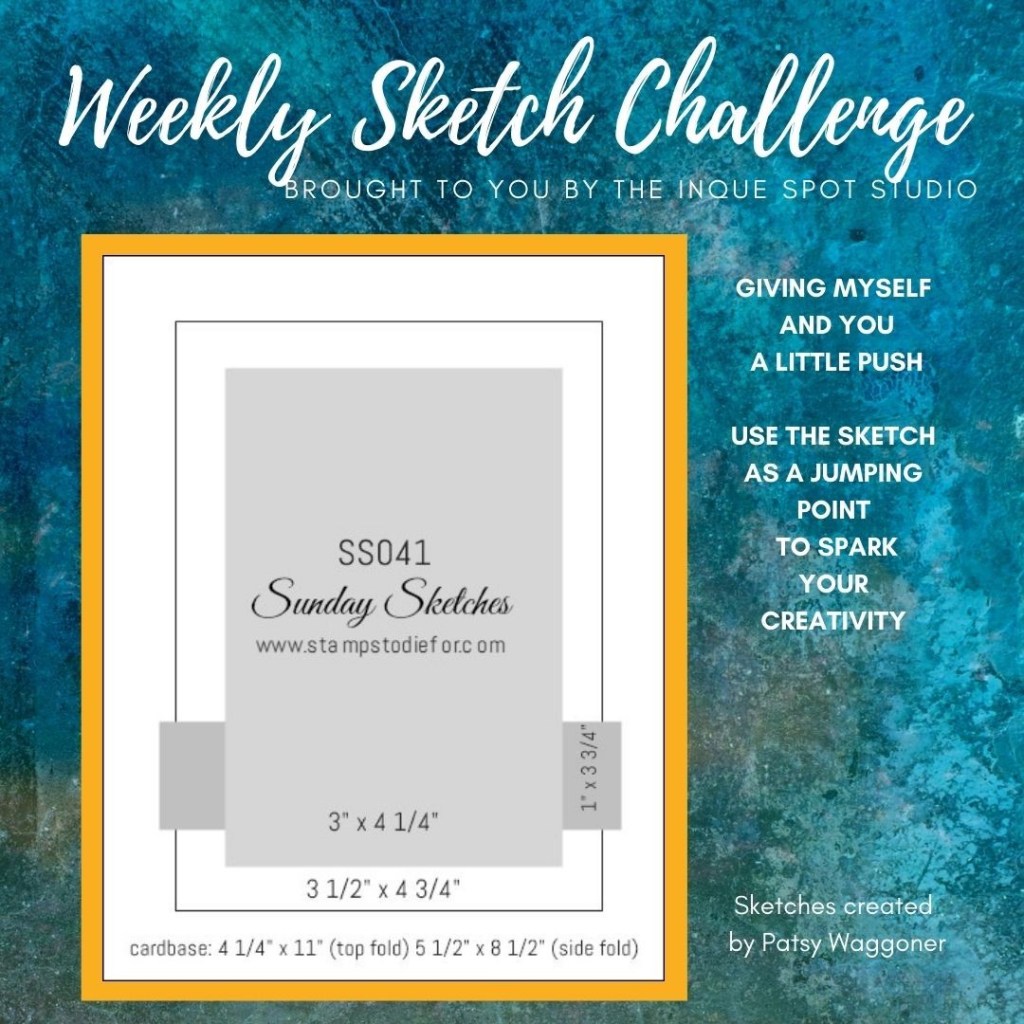
Last week’s Sunday Sketch – SS041 got away from me as it is already Friday. It is a great layout for a scene.
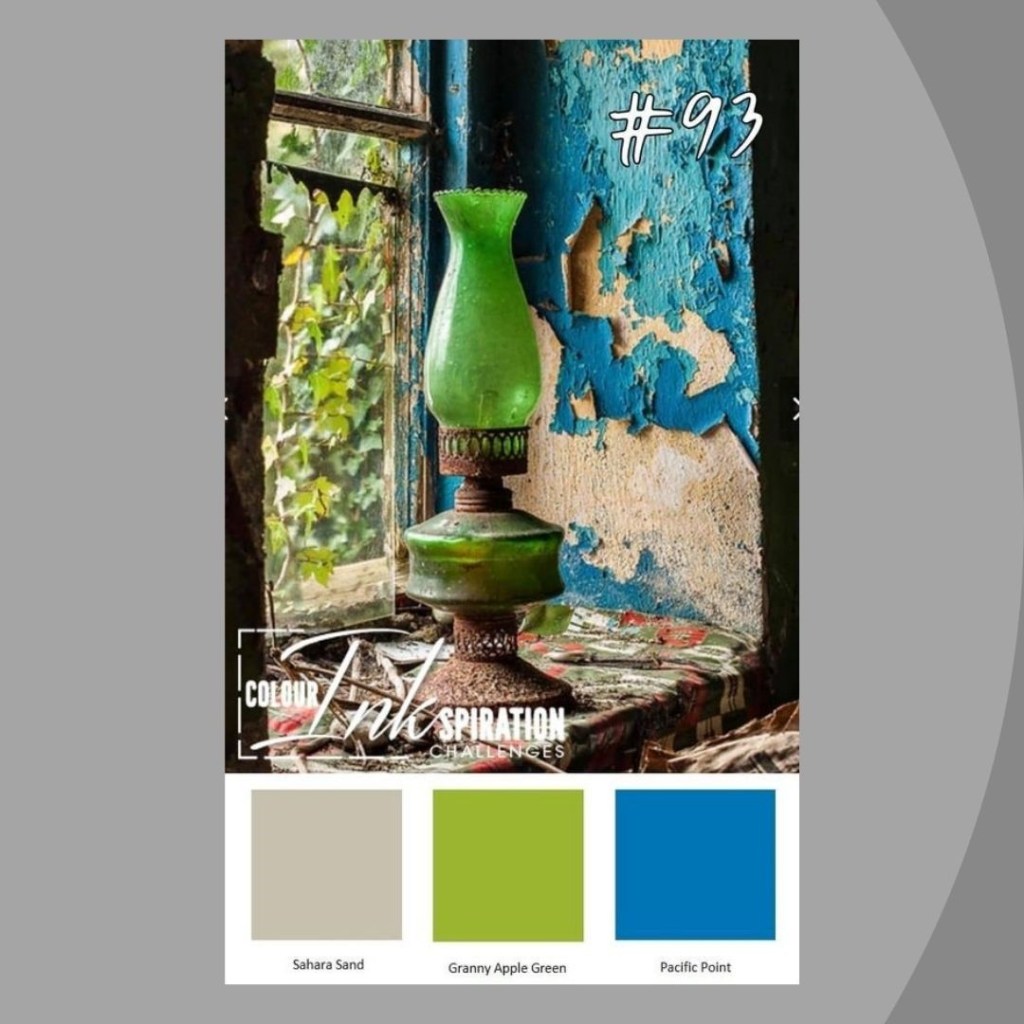
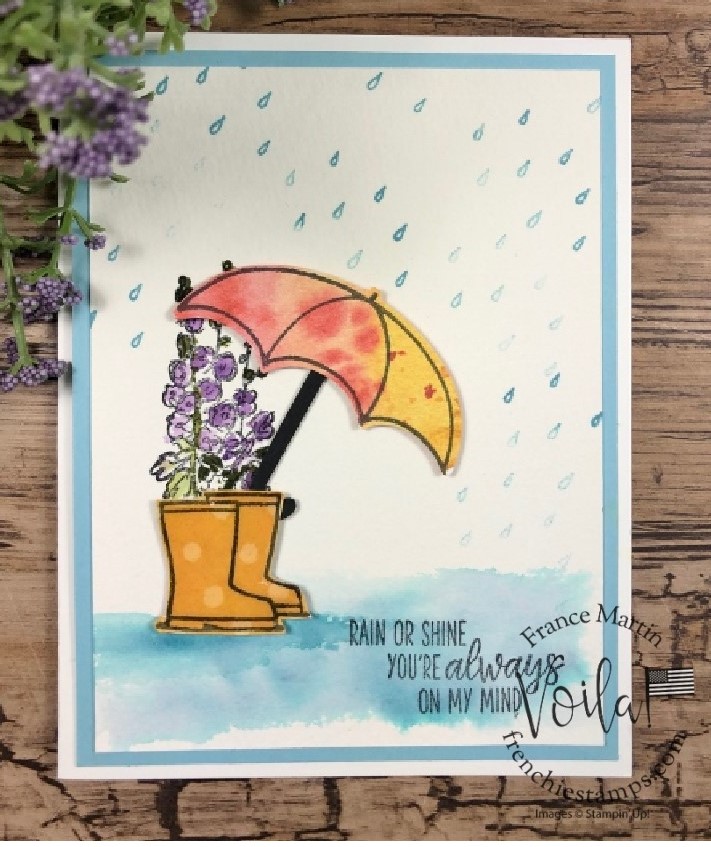
A week ago, a fellow Demonstrator made a card that caught my imagination and reminded me that I really like the stamp set she used and I was inspired to case her overall idea for this sketch in the colors of the current Colour INKspiration Challenge – CI93.
The stamp set of choice: Under My Umbrella with an assist from Grace’s Garden.
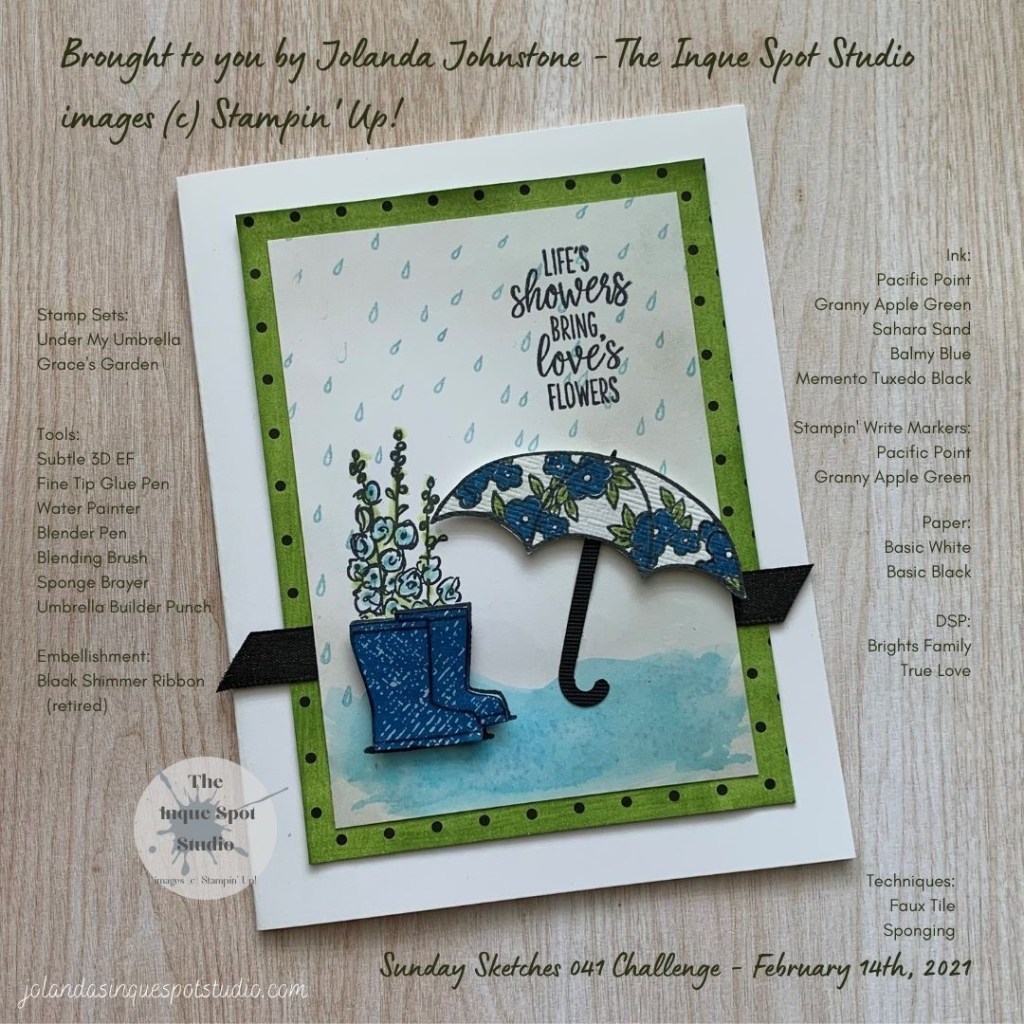
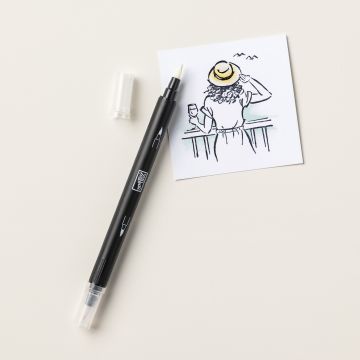
Step One: Stamp the Boots on to a piece of Pacific Point patterned paper (Brights Family Collection Designer Series Paper). I used Memento Tuxedo Black ink for all the stamped images. Cover the Boots with shiny drying glue…the Fine Tip Glue Pen was used and then set aside to dry. When dry, fussy cut the Boots.
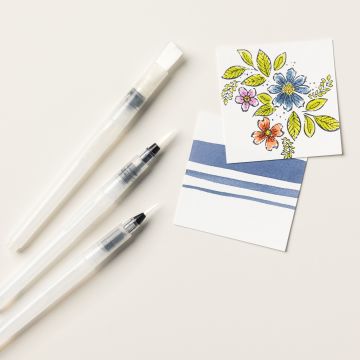
Step Two: Stamp the Umbrella on to a scrap of Basic White cardstock. Stamp Mini Flowers on to the Umbrella. With Blending Brush add Sahara Sand ink to darken. With Stampin’ Write Markers, color the Flowers in Pacific Point and the Leaves in Granny Apple Green.
Step Three: Punch out the Umbrella Handle in Basic Black cardstock with the Umbrella Builder Punch. You can also punch out the Umbrella. I chose to fussy cut the Umbrella because I did not want any white edges. To simulate the fabric effect on the Umbrella and add texture to the Handle, I dry embossed both with the Subtle 3D Embossing Folder twice for a cross-hatch pattern.
Step Four: I probably should have used a piece of Watercolor Paper, but I just used Basic White cardstock for the main panel. I added a quick watercolor wash across the bottom in Pacific Point ink.
Step Five: I restamped the Boots in the position I wanted them to be in the scene. I then masked the Boots with a Post-It-Note and added the Flowers from the Grace’s Garden stamp set so that the Flowers would appear behind the Boots. I chose to color the Flowers using a Blender Pen picking up the colors Pacific Point and Granny Apple Green from the ink lids. This gives a much softer look than that of the Flowers stamped and colored on the Umbrella.
Step Six: Completing the scene. I decided where the Umbrella was going to be and added the Rain Drops directionally right to left across the “Sky” in Balmy Blue ink, avoiding the area under the Umbrella. It is raining and the sky is cloudy…to that effect I added more Sahara Sand ink with the Blending Brush across the “Sky” and on the “Ground”. The sentiment was stamped in the upper right corner.
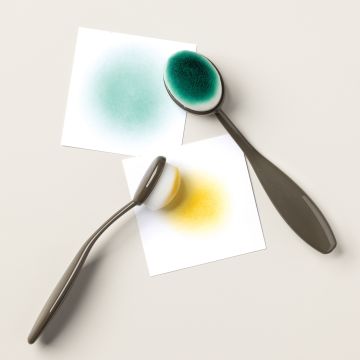
Step Seven: In the sketch, there is a mat behind scene panel. I selected a piece of True Love Designer Series Paper and colored it Granny Apple Green with a Sponge Brayer. For the strip, I chose to use a piece of Basic Black Shimmer Ribbon. The ribbon is now retired and a strip of Basic Black cardstock could have been used but the ribbon reminded me of the fabric used for most black umbrellas.
Step Eight: Putting it all together. The Granny Apple Green patterned paper was adhered to a Basic White card base. I wanted to keep the card as bright as possible. The ribbon was added. The scenery panel was then added. The Shiny Boots were popped up over the pre-stamped Boots. The Umbrella was popped up in its position and the Handle was glued down in place.
Again, the color scheme with the Sahara Sand made things a little difficult. Perhaps I should have just added the color to the Umbrella and left the scenery background a clean white. Second guessing your ideas…we all do it.
Overall, I am happy with the card. Thanks to France Martin for the inspiration.
Thanks for spending some of your time with me today. Cheers, Jolanda!
Need a card? Ask me and I can create one for you. Want the supplies to create your own, let me know and I can help you with that too!
Like this card? Want to make one?
I would LOVE to be your Stampin’ Up! Demonstrator. If you live in the United States you can order your paper crafting supplies from my on-line store. It is so easy. THANK YOU!
Principle Product Supply List: If you choose to shop with me today, please use HOSTESS CODE: 34KGB2MM if you spend less than $150.00.