October 10th, 2020
The challenge this week is to create with a favorite. What favorite? A stamp set, a color, a technique, a tool, a style?
Ultimately, my favorite style of card is Clean and Simple. My go to color is White and then what ever other colors suit the imagery of the stamp set selected. I like to use just one stamp set to complete my card. This is not always possible as some of the stamp sets have only images and no sentiments.
Clean and Simple generally translates into cards that require a minimal of tools and is fair game for interesting yet easy techniques.
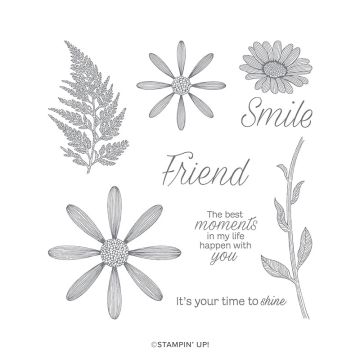
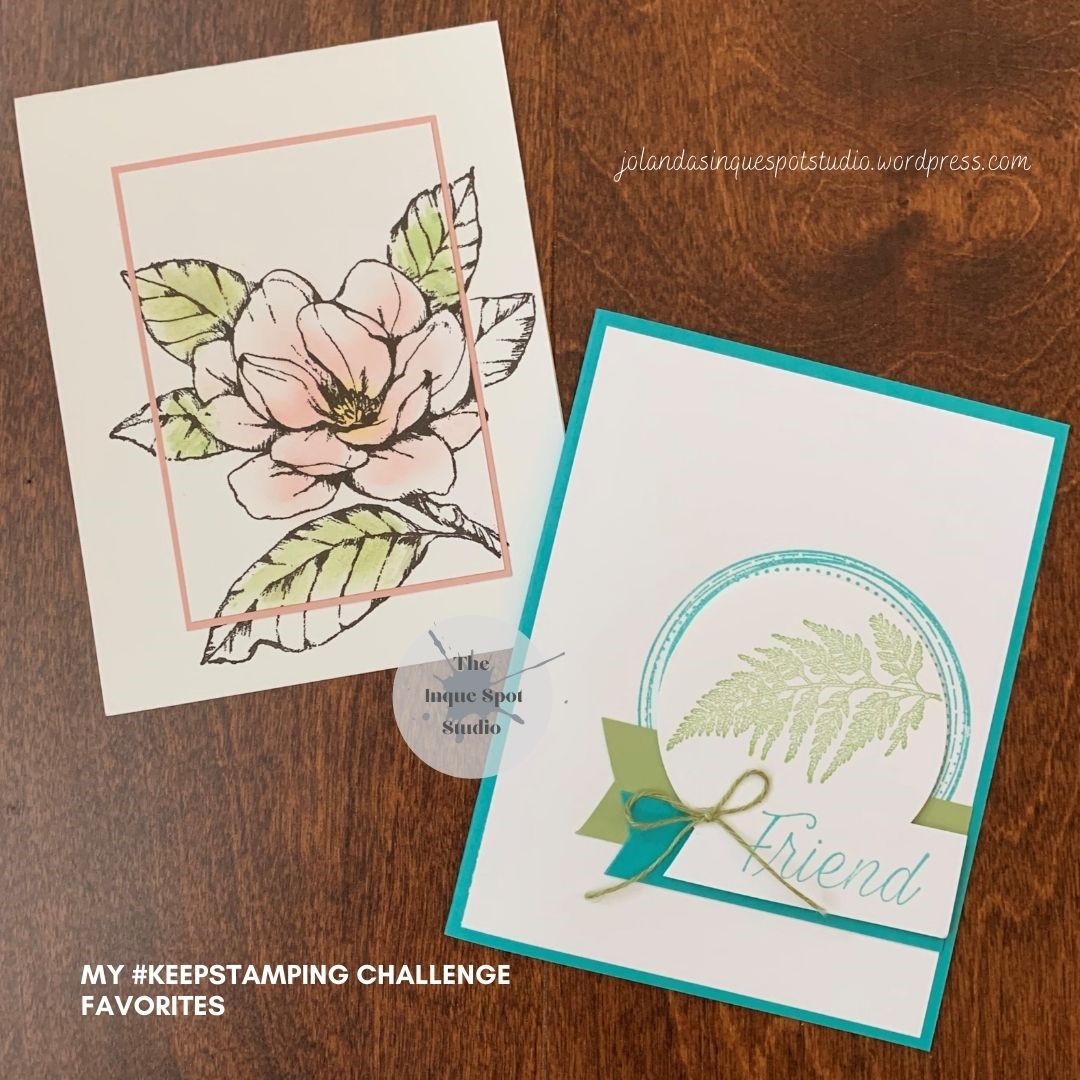
Friend
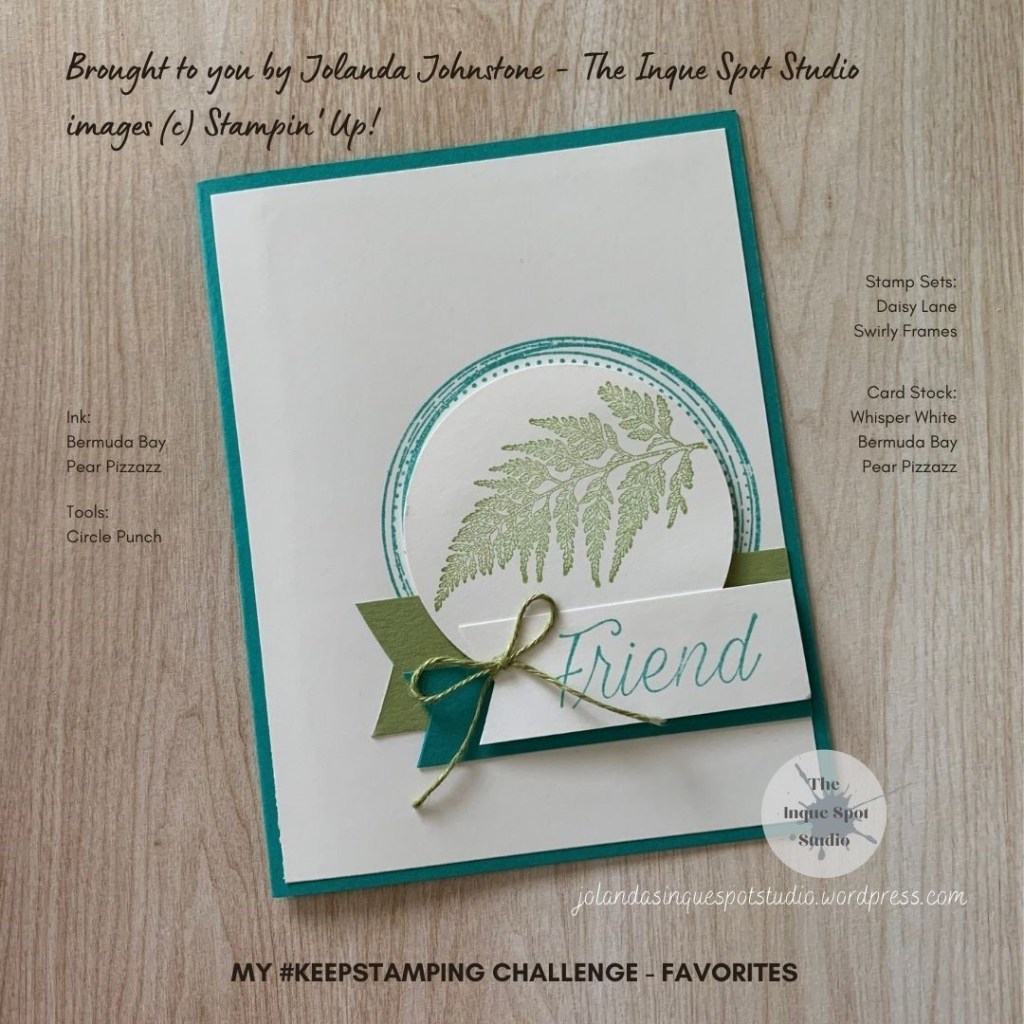
Swirly Frames is one of my go to stamp sets when I want to frame an image and keep the card layers at a minimum. Here, the simple but very pretty fern from Daisy Lane is stamped in Pear Pizzazz and punched out with a Circle Punch and framed with the circle swirl image in Bermuda Bay. Bermuda Bay and Pear Pizzazz are nice complimentary colors. I added a few rectangular flag cut strips flush with the mat edge to contrast with the simple Friend sentiment.
A few elements are popped up for dimension and a little coordinating bow, in a matching color twine, has been added.
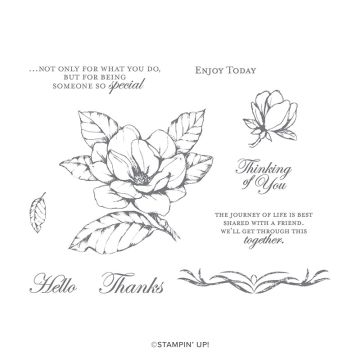
Magnolia
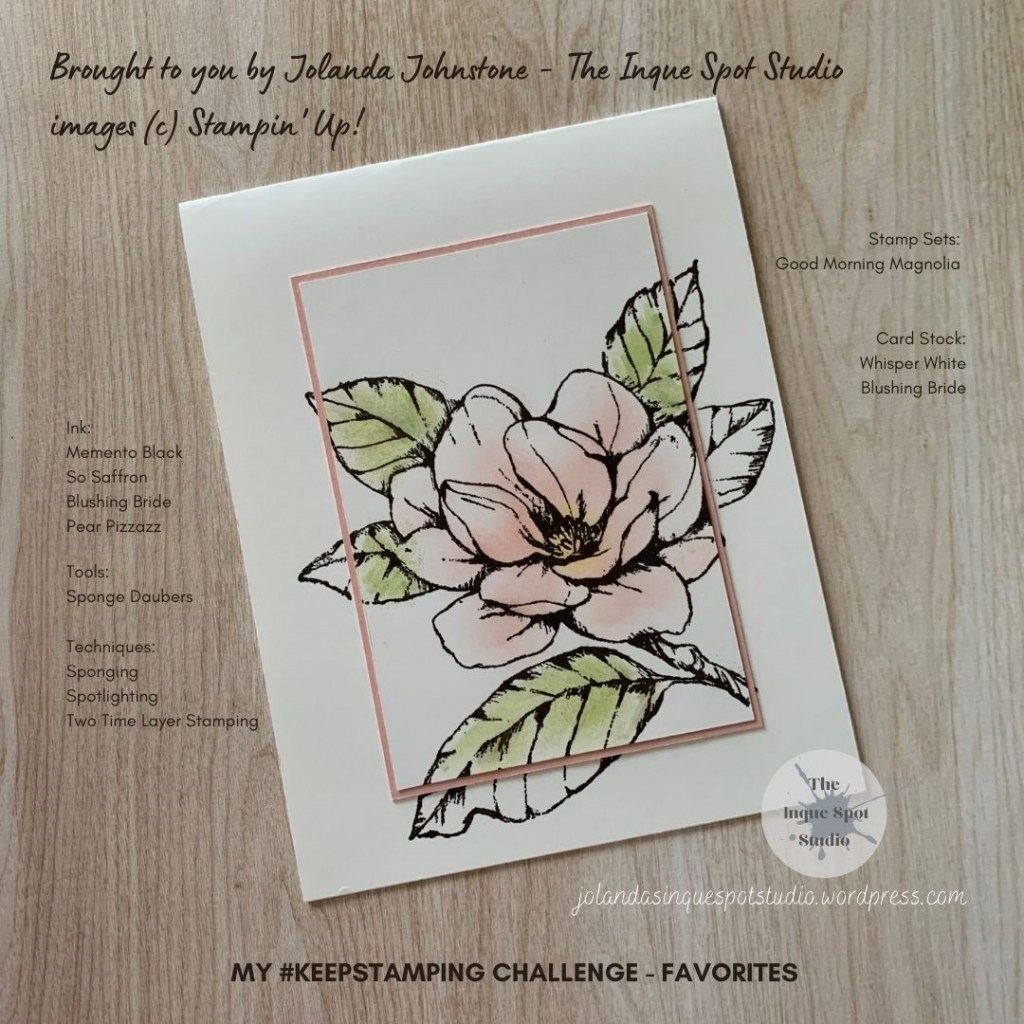
This card was intentionally made without a sentiment. An elegant card suitable for a variety of occasions.
Three very easy techniques were used to make this card.
Two Time Layer Stamping:
- Top mat measures 2¾” x 4” and the Blushing Bride mat measures 2⅝” x 4⅛”.
- Arrange the top mat on to the card base as you wish. Here it is centered. Add a little temporary adhesive to keep the mat in place.
- Stamp your image, ensuring it overlaps the mat and falls onto the card base too.
- Lift mat and adhere to the base mat (Blushing Bride) and recenter image mats to line up with the stamped image on the card base.
- Looks nice as a black and white card and just as nice with a little color…
Spotlighting:
To spotlight means that you are only highlighting part of the stamped image. In this case, I added color to the floral image but not to the parts of the image remaining on the card base.
Sponging:
Using a Sponge Dauber or a Sponge Wedge, apply color lightly to the areas of the image you wish to highlight. I used So Saffron for the floral center, Blushing Bride for the blossom and Pear Pizzazz for the leaves.
Quick and easy yet so pretty. It is often a challenge to keep cards simple when there are so many products at hand in our craft spaces.
Cheers, Jolanda
Need a card? Ask me and I can create one for you.
Like these cards? Want to make them?
I would LOVE to be your Stampin’ Up! Demonstrator. If you live in the United States you can order your paper crafting supplies from my on-line store. It is so easy. THANK YOU!
Principle Products Supply List: If you choose to purchase any of these products, please use HOSTESS CODE: 37N7RXTT during the month of October.