Tuesday has come around again! The Design Team Challenge for Hand Stamped Sentiments (#409) is a Sketch and I opted for a Holiday card. What fun to delve into the Christmas Box. I suspect many of the products used are retired. Let’s play!

The shape reminded me of a Window and over at Jingle Belles, they were looking for a see through element. So, a window it is! I am also sharing this with Happy Little Stampers (March) for their Christmas challenge.
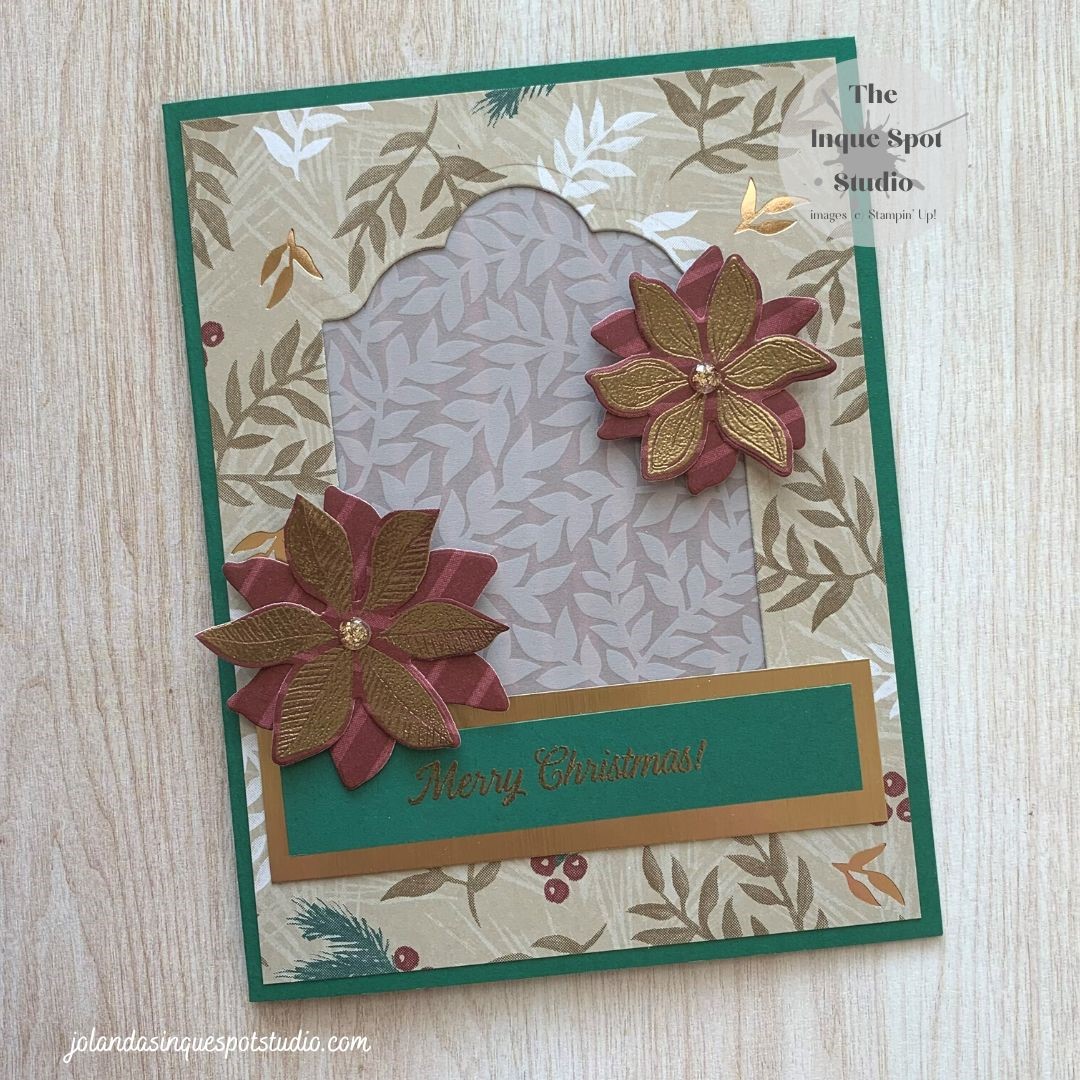
Here is the result:
Steps:
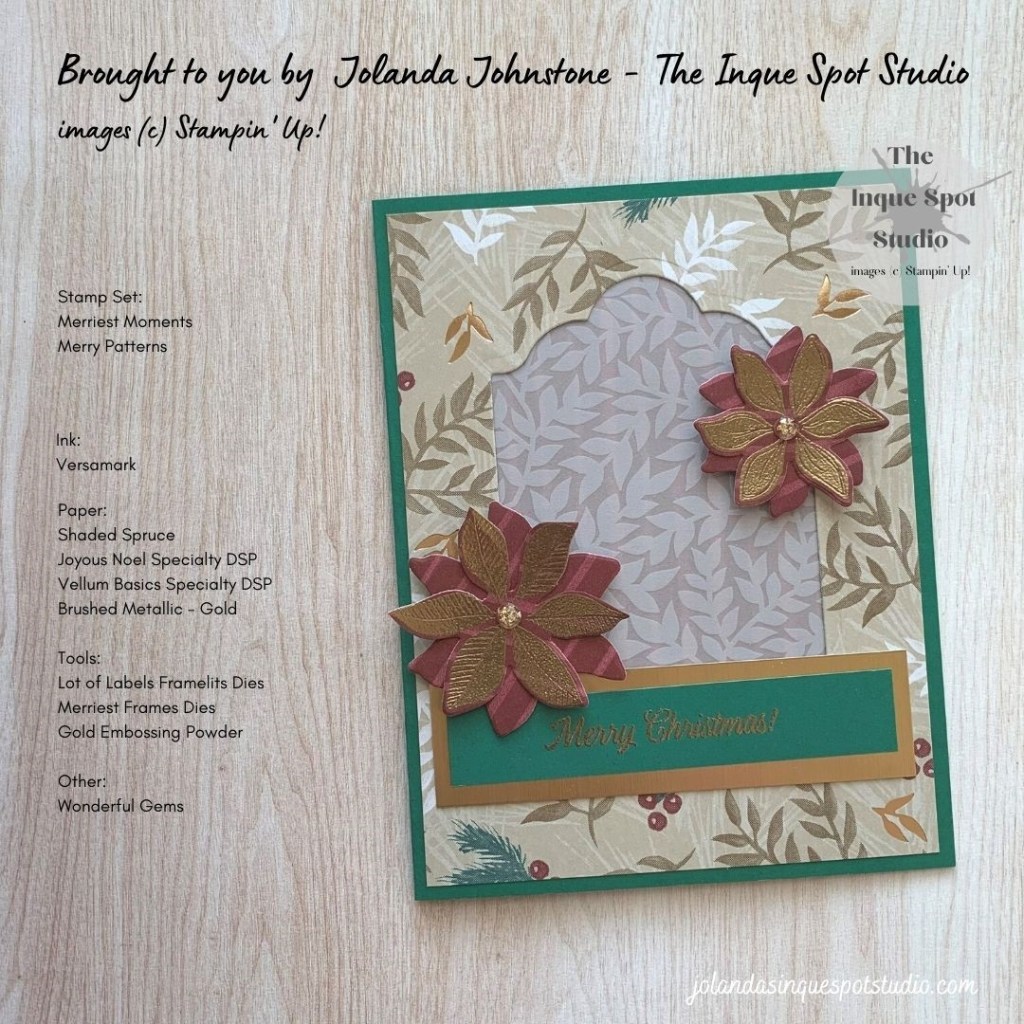
- Card Base: (8½” x 5½” scored at 4¼”) Shaded Spruce cardstock.
- Background Panel with Window: (4” x 5¼”) Leafy patterned piece of paper from the Joyous Noel Specialty Designer Series Paper pack.
- Using one of the Label dies from the Lots of Labels Framelits Dies set, an opening was die-cut.
- Frosted Window: (3” x 4”) Leaf patterned piece of Vellum from the Vellum Basics Specialty Designer Series Paper pack.
- Window Liner: (3” x 4”) Merry Merlot Striped patterned piece of paper (reverse side) of Background Panel paper.
- Sentiment Accent Mat: (3¾” x 1”) Brushed Metallic cardstock – Gold Color.
- Sentiment Label: (3½” x ⅝”) Shaded Spruce cardstock scrap.
- The sentiment, Merry Christmas!, from the Merry Patterns stamp set was stamped with Versamark ink and heat-set with Gold Embossing Powder.
- Decoration – Poinsettias: Merry Merlot Striped patterned paper.
- The two Poinsettia Blooms from the Merriest Moments stamp set were stamped onto the patterned paper with Versamark ink and heat-set with Gold Embossing Powder.
- The Poinsettias were die-cut with the coordinating dies from the Merriest Frames Dies set.
- Two additional Poinsettias were die-cut from the same patterned paper.
The Vellum and the Liner were affixed behind the opening in the Background Panel and the panel was adhered to the card base. The Sentiment Label was attached in front of the Window as it could not be set behind it. The Poinsettias were made, overlapping the two die-cuts and added with Dimensionals to the side of the Window. A Gold Iridescent Wonderful Gem was added to the centers of the flowers.
Never to early to start on your Holiday card stash. Happy Holidays.
Thank you for spending some of your time with me today. Cheers, Jolanda!
Need a card? Ask me and I can create one for you. Want the supplies to create your own, let me know and I can help you with that too!
Like this card? Want to make one similar?
I would LOVE to be your Stampin’ Up! Demonstrator. If you live in the United States, you can order your paper crafting supplies from my on-line store. It is so easy. THANK YOU!
If you choose to shop with me today, please use HOSTESS CODE: XYSBARMS (March 2023) if you spend less than $150.00. On-Line exclusive products now available. Check out the selection and get creative!

What a beautiful and elegant design! I love the frosted vellum in the window… so sophisticated! So happy you could join our CLEAR elements fun at Jingle Belles!
LikeLiked by 1 person
This is so elegant. Wonderfully done!
LikeLiked by 1 person
love the repeated images in your design … such a lovely clear element in your design … so very glad you joined us at Jingle Belles.
LikeLiked by 1 person