Saturday’s Keep Stamping Challenge – November 7th, 2020
I am excited to share my card with you today! I am creating these on-line challenges to keep you motivated and engaged. I like to try something new and share it with you. I hope that I can inspire you to try new things too! Whether it is a new technique, a new fold or another type of challenge. Join me on my creative journey…
I have recently seen a number of cards on Pinterest that were using what was termed as a Double Point Fold. Thought it was interesting and was determined to see how it was made. In my search, I discovered the Double Point Fancy Fold card which is a really cool stepped up version.
(With the evenings getting dark so quick, I missed my opportunity to take my photographs in natural daylight, please overlook all the shadows)

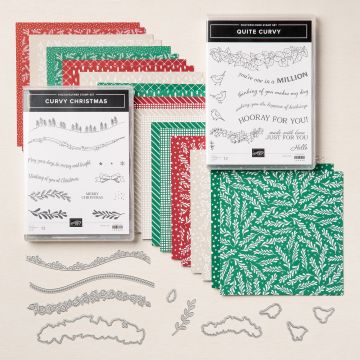
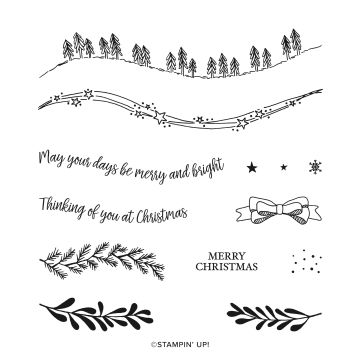
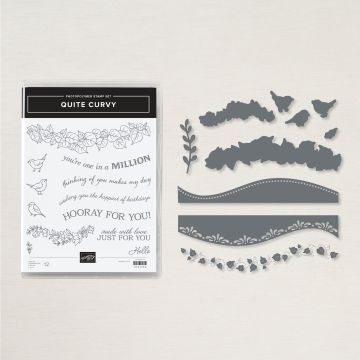
The Quite Curvy Variety Bundle is available right now and includes the Christmas Curvy stamp set and the Classic Christmas 6” x 6” Designer Series Paper (DSP) along with the Quite Curvy stamp set and the Curvy Dies. The Christmas product offering is exclusive and can be purchased until the end of the year. The Quite Curvy Bundle including the stamp set and dies will be in the new 2021 January – June Mini Catalog.
I used these products in the Christmas card I made so you can see how great they are!
Simple Card:
- Card Back / Mat (5½” x 4¼”)
- Mat (5¼” x 4”)
- DSP (4” x 3”) Two Pieces. Score 1” along 3” side (1” + 2” = 3”)
- Point Connector. The Stitched Nested Label Dies work great for this. Choose coordinating colors.
The trick is to hide your greeting or other stamped images behind the connector.
So, I selected:
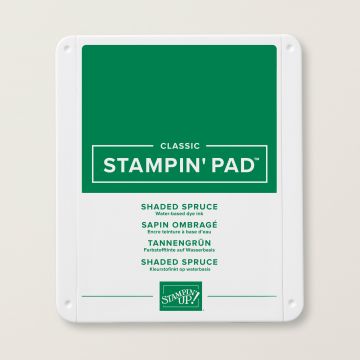
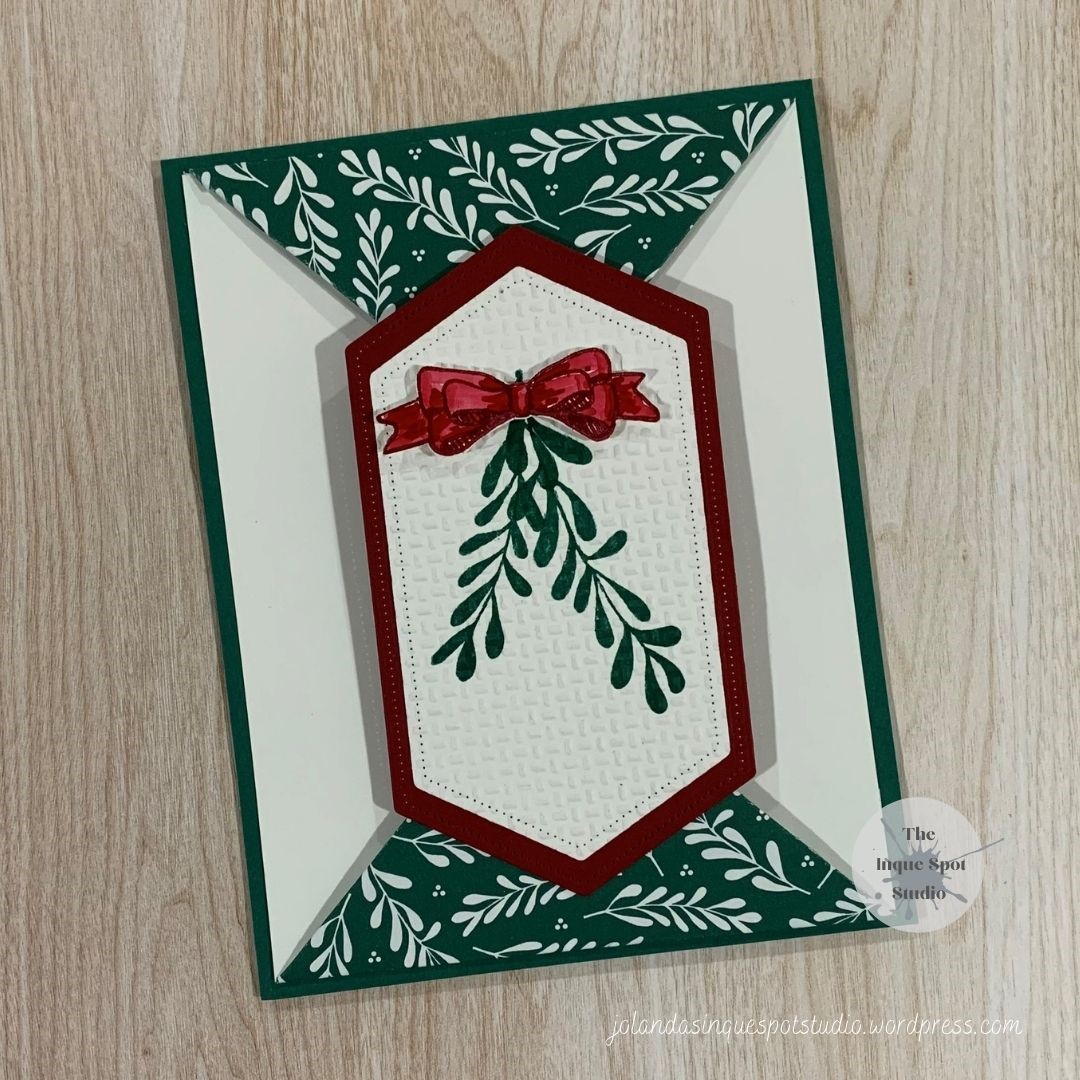
- Shaded Spruce Card Back
- Whisper White Mat
- Shaded Spruce Holly Frond pattern from the DSP pack to match stamped image.
- Cherry Cobbler Stitched Nested Layer Mat
- Whisper White Stitched Nested Label for stamping on.
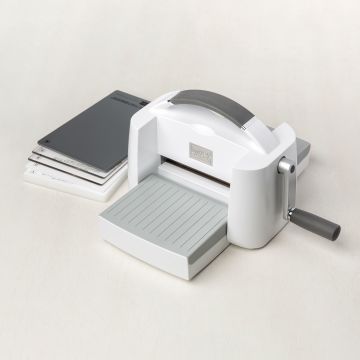
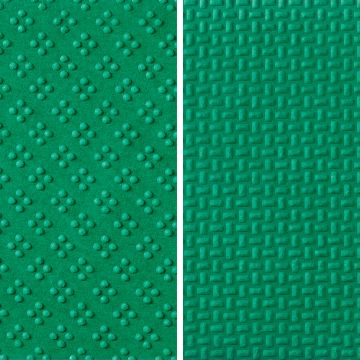
I stamped the Holly Fronds in Shaded Spruce, added texture by embossing the label with the Wrapped in Christmas embossing folder. I stamped the Bow in Cherry Cobbler on a scrap of Thick Whisper White card stock, colored it in with the Cherry Cobbler Stampin’ Blends and then Fussy Cut it.
The patterns in the Classic Christmas DSP are classic and the color palette includes Cherry Cobbler, Shaded Spruce and Crumb Cake mixed with Whisper White.
To create the points, the DSP is folded along the score line and the two edges are folded in to the center to make the point. Use a Bone Folder to enhance the crease. Adhere the edges down to keep the point in place.
Position the DSP points behind the Mat, top and bottom. Do not adhere. Position the Connector label over the points. With a very light pencil, mark where the edges of the label will sit. This is so, you will know where to stamp your hidden greeting / image. Erase pencil marks when stamping has been completed.
Put aside the DSP and the Connector pieces so that you can stamp.
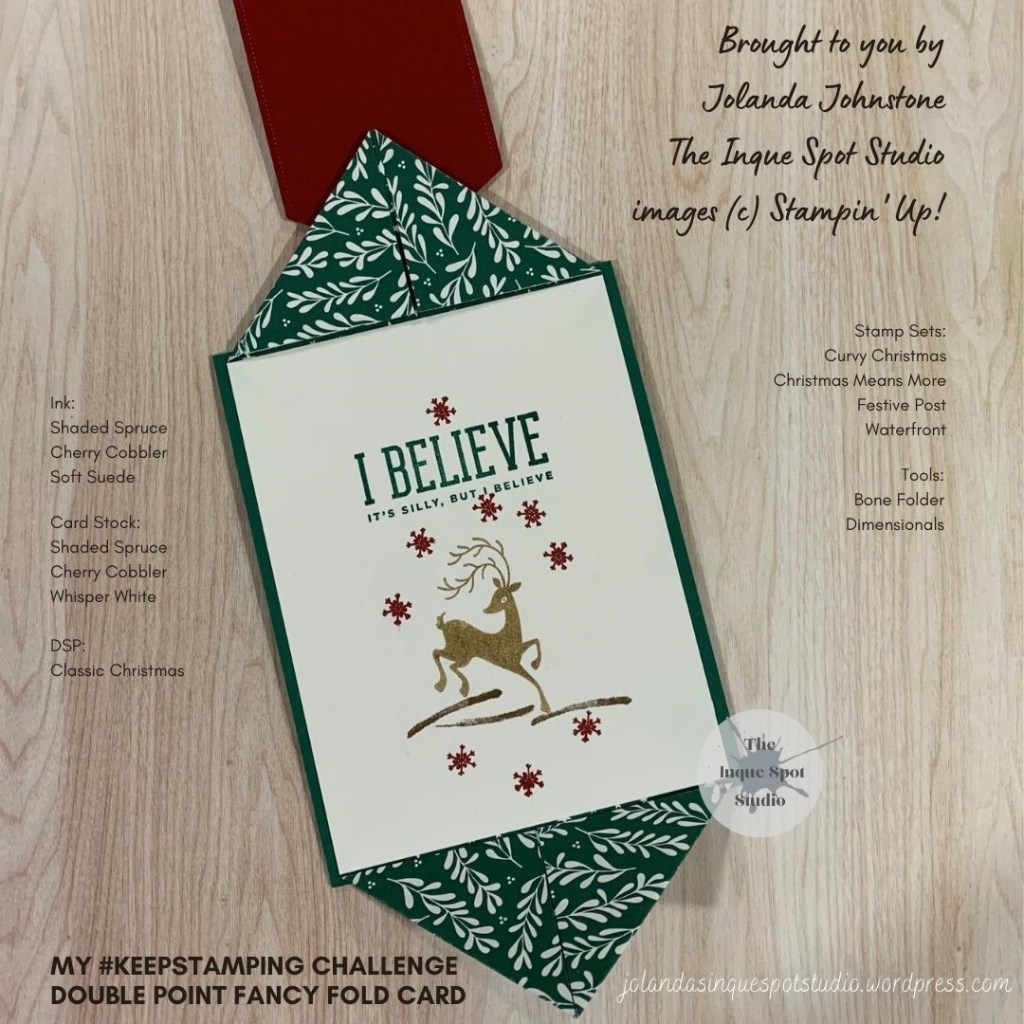
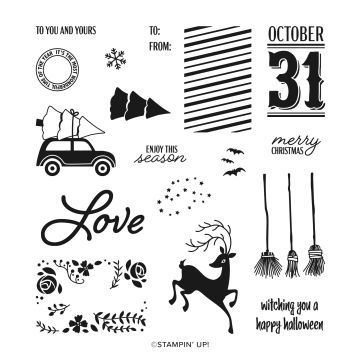
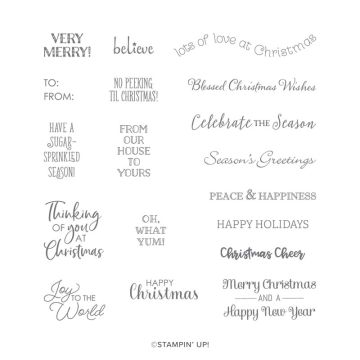
Mixing everything up, I picked the sentiment I Believe from the Christmas Means More stamp set, the Deer from Festive Post stamp set, the Ground from the Waterfront stamp set and the Snowflake(s) from the Curvy Christmas stamp set. Just keep in mind anything, that if you intend to sign your name, you will need to leave space for that.
Adhere the points behind the Mat. Adhere the Mat to the Card Back. Add Dimensionals to the top point and /or the top of the Cherry Cobbler Mat taking care not to adhere to the Whisper White Mat. You have now created the Simple Card.
The Stepped-Up version or Fancy Fold option requires one alteration: You need a full card base cut at 11” x 4¼”, scored at 5½” and another 5¼” x 4” Mat.

This newly decorated Mat will go inside the card.
When you have a 6” x 6” sheet of DSP and you cut it at 4” to get your two 3” x 4” pieces needed for the points, you will have a 2” x 6” strip remaining. I chose to cut this in two with the Dotted Curvy Die, trimming it down to 5¼”. One of the really great features of Stampin’ Up!’s DSP is that it is two-sided. I picked the alternate Star pattern and adhered the split pieces to the edges of the Mat.
The Cherry Cobbler stamped greeting and image complete the card. Happy Christmas and believe are from the Itty Bitty Christmas stamp set and the Star Galaxy is from the Curvy Christmas stamp set. I used the Stamparatus to help me position the repeated believe greeting. The Stamparatus is a great tool to have on hand to do repeat stamping.
This was a fun card to put together. Not really very difficult yet complicated to explain. I hope you will give it a try with the materials you have on hand.
Thanks for spending some of your time with me. Cheers, Jolanda
Need a card? Ask me and I can create one for you.
Like this card? Want to make it?
I would LOVE to be your Stampin’ Up! Demonstrator. If you live in the United States you can order your paper crafting supplies from my on-line store. It is so easy. THANK YOU!
Take advantage of the time-limited exclusive offer on the Quite Curvy Variety Bundle. Shop with me. Please use HOSTESS CODE: WGS7GBB9 if you spend les than $150.00