November 5, 2020
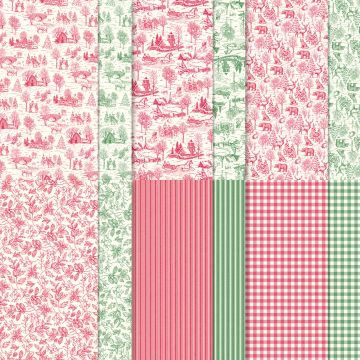
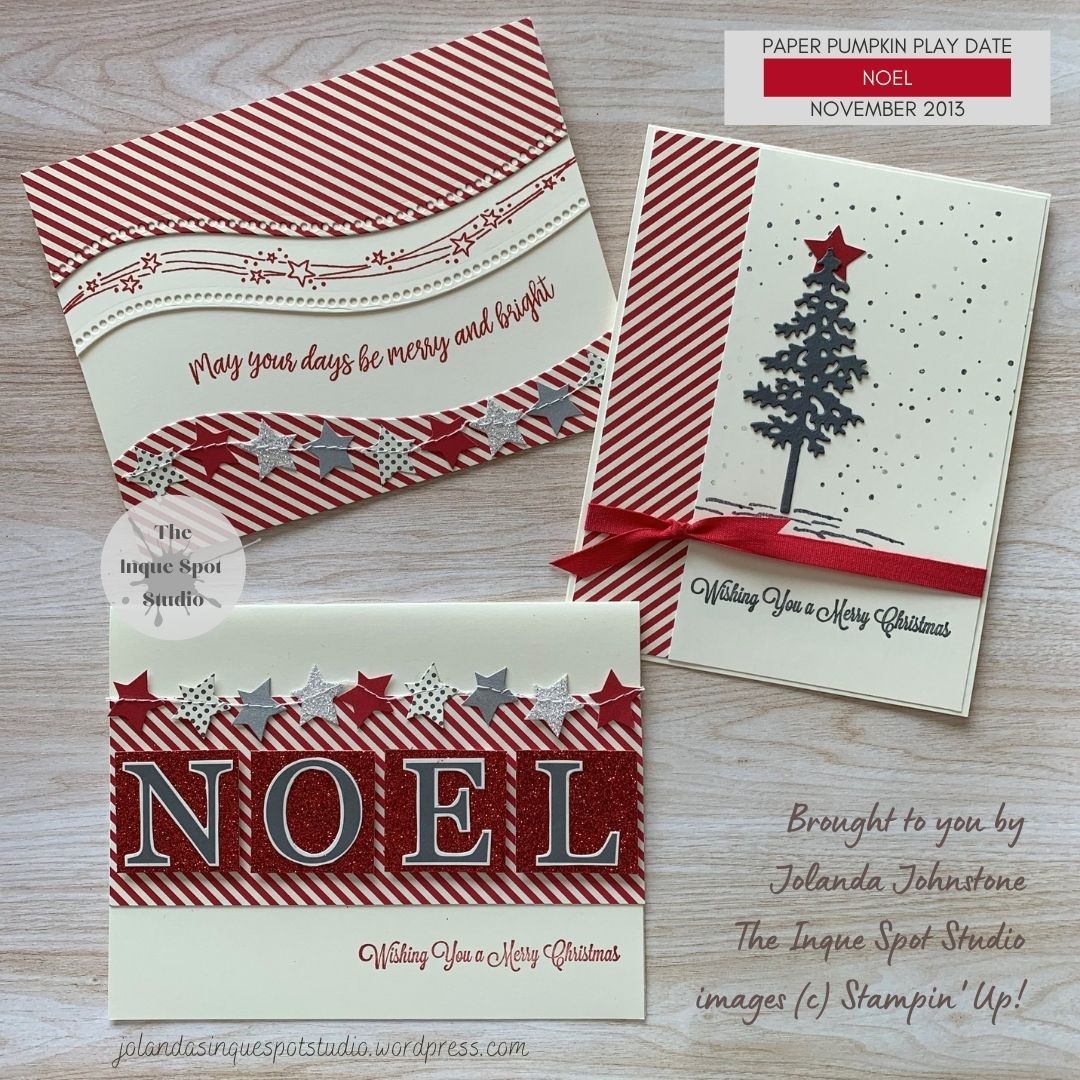
The NOVEMBER 2013 – NOEL kit was the first Holiday themed kit. The red and vanilla diagonal striped card bases were perfect for cutting apart and using them to create wonderful alternatives. I paired them with Very Vanilla card bases. Here are a trio of cards I made by adding a little something old, still in my stash, and using some newer current products. 2020 meets 2013.
NOEL
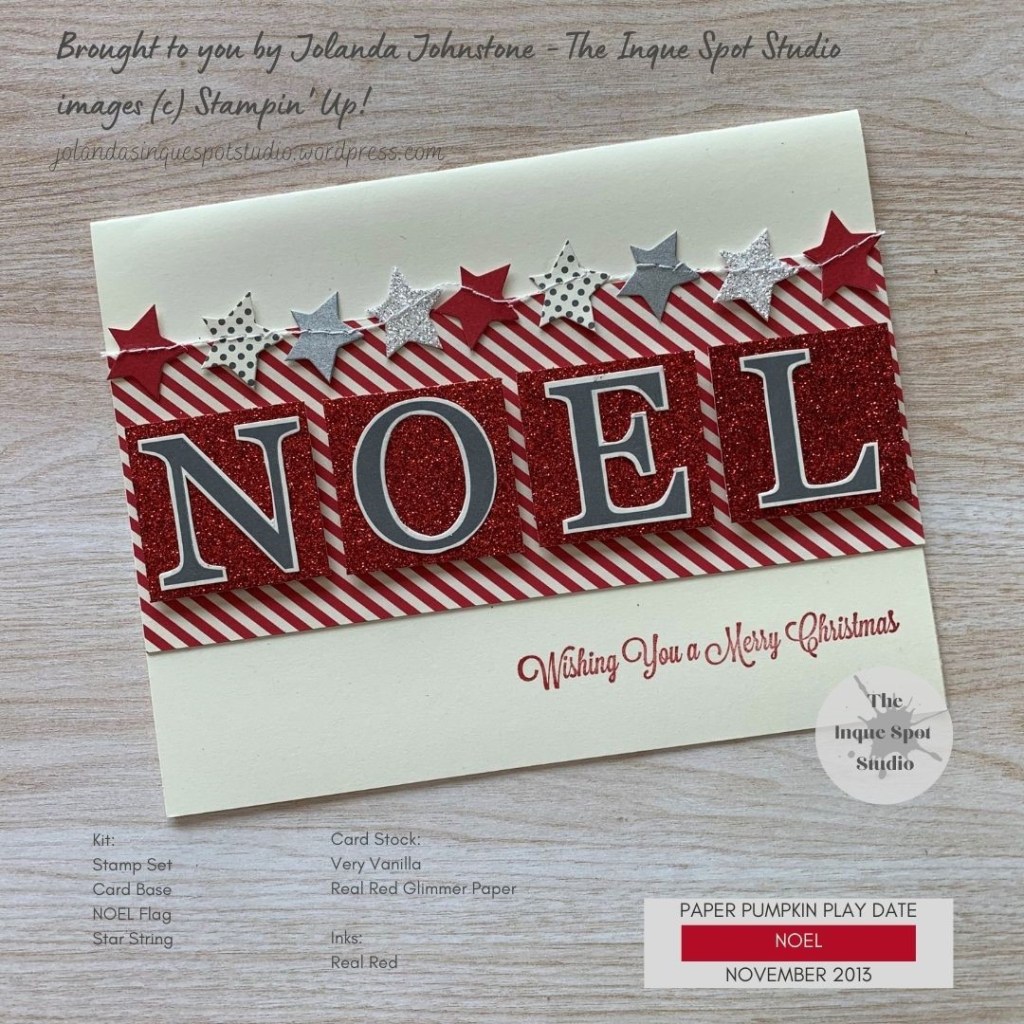
For this card, I fussy cut the letters N-O-E-L from one of the flag elements. Each letter was adhered to a 1¼” square of Real Red Glimmer Paper. The card base strip is 2” x 5½”. The original kit sentiment is stamped in Real Red in the lower right corner. A section of the Star string was added across the card front.
I like how festive the glimmer paper looks under the bold lettering.
HOLIDAY TREE
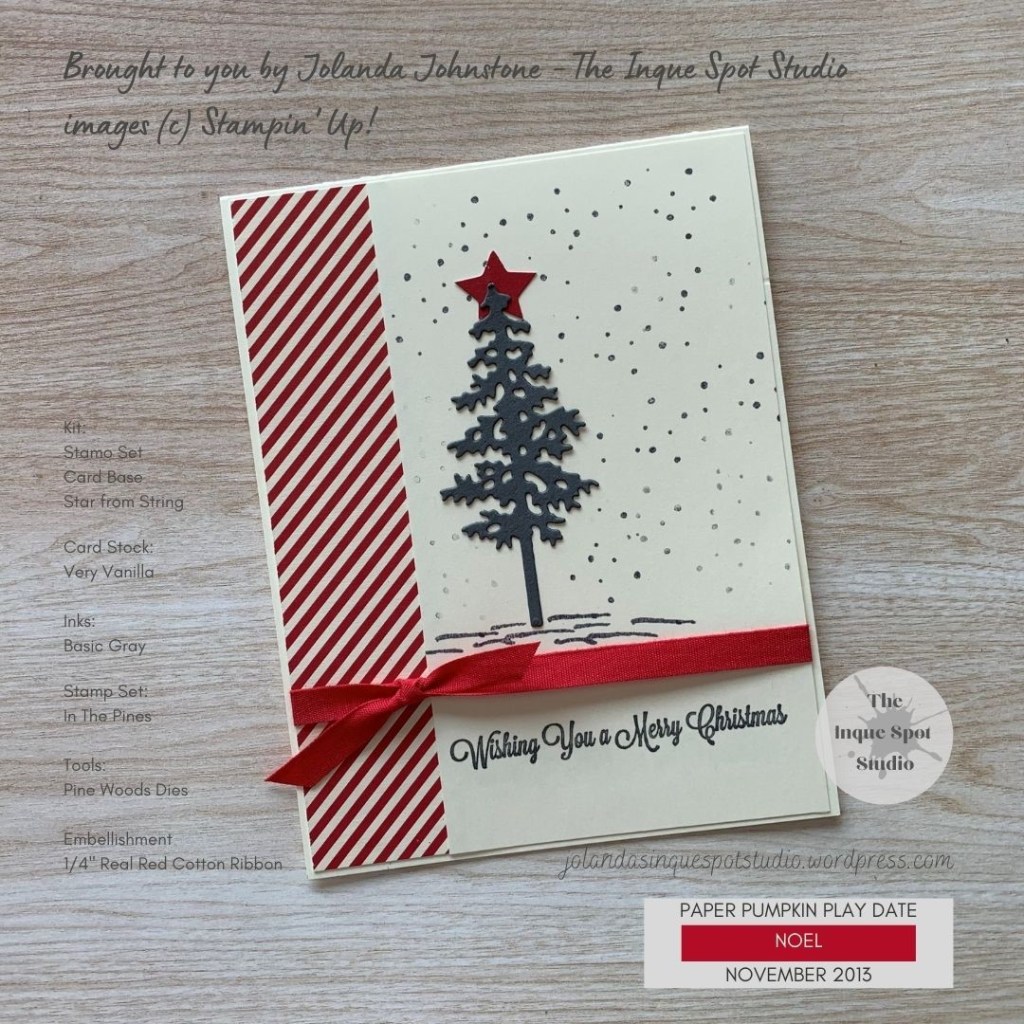
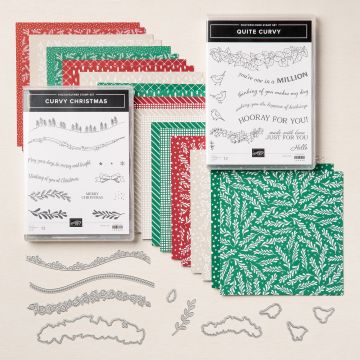
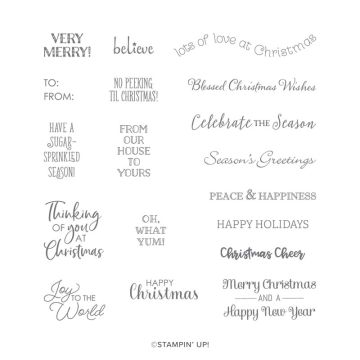
For this card, I wanted to keep it clean and simple. The new IN THE PINES BUNDLE (Stamp set and Dies) were perfect for the calm winter effect I wanted.
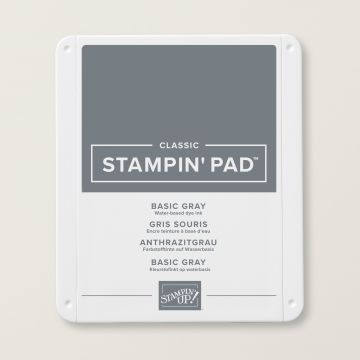
I die-cut the tree in Basic Gray card stock with the Pine Woods Dies and stamped the snow flakes and ground snow from the In the Pines stamp set in matching Basic Gray ink. The original kit sentiment is stamped in Basic Gray in the center of the 3” x 5⅜” Very Vanilla panel. The striped card base horizontal strip is cut to 1¼” x 5⅜”. I cut a Real Red star from the Star string and added to the tree top. Real Red ribbon was added across the panel to separate the image and the sentiment.
MERRY AND BRIGHT

You can now get your hands on the new CURVY CELEBRATIONS PRODUCT BUNDLE. I wanted to give it a try. I can already tell that I am going to have fun using these products!
The card base and a piece of Very Vanilla card stock was cut apart using one the Curvy Dies. The sentiment and the star galaxy stamps from Curvy Christmas were added in Real Red ink. The die-cut pieces were arranged on a Very Vanilla card base. A section of the Star string was added across the card following the curve at the bottom.
This is a fun little card. Cheerful and full of merriment!
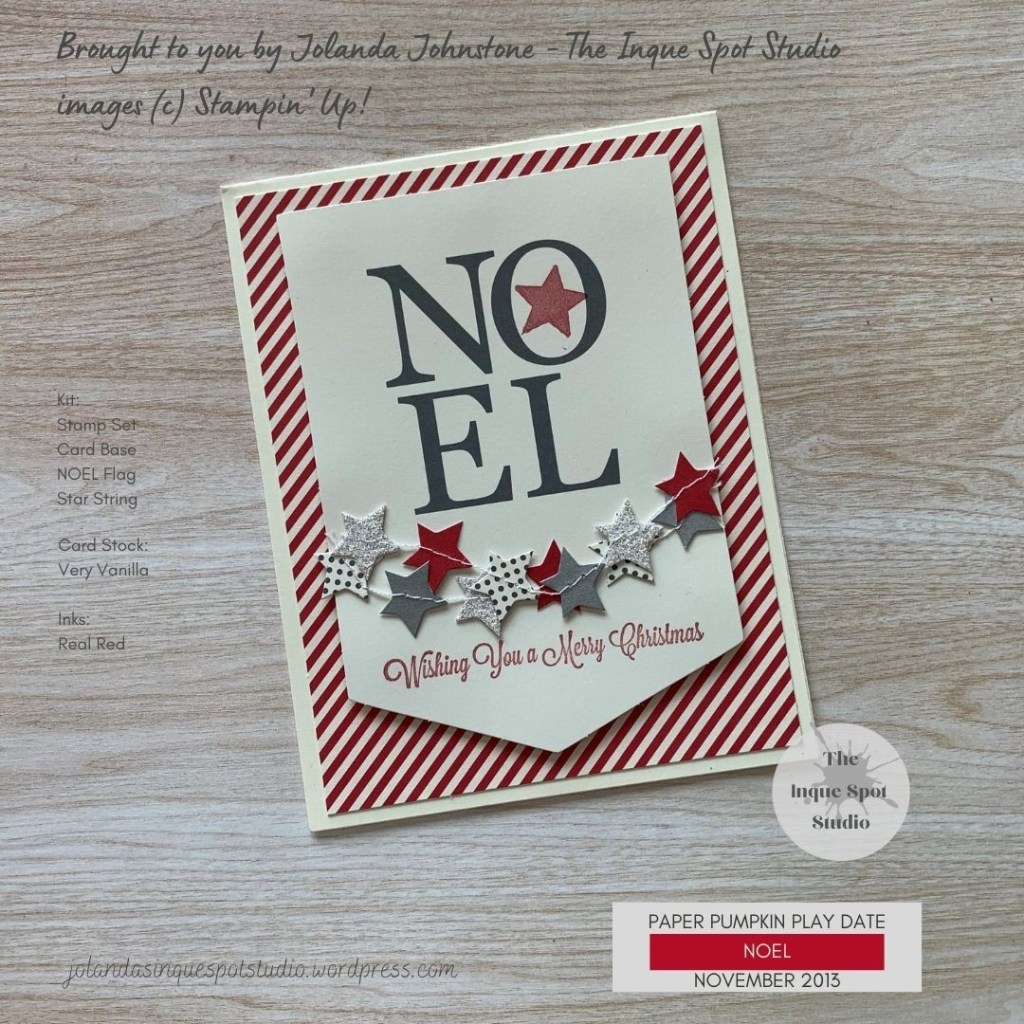
The original card design that Stampin’ Up! provided with this Paper Pumpkin Kit if you were not yet a subscriber in 2013 is below. The only thing I did different was use the card base as a layer on a Very Vanilla card base.
If you still have this kit around, I hope I gave you a little inspiration. If so, post the card(s) you make on my Facebook Post: https://www.facebook.com/theinquespotstudio so we can all see your creativity.
I really like how these cards turned out. Do you? Let me know what you think. Post a comment. I would love to hear from you!
Cheers, Jolanda
Thanks for spending some of your time with me today.
Like these cards? Want to make them?
I would LOVE to be your Stampin’ Up! Demonstrator. If you live in the United States you can order your paper crafting supplies from my on-line store. So easy. THANK YOU!
Current products that can be used to make similar cards: If you choose to shop with me this month, please use HOSTESS CODE: WGS7GBB9