Welcome back! Such a dreary day so, I decided to create something pretty and fresh.
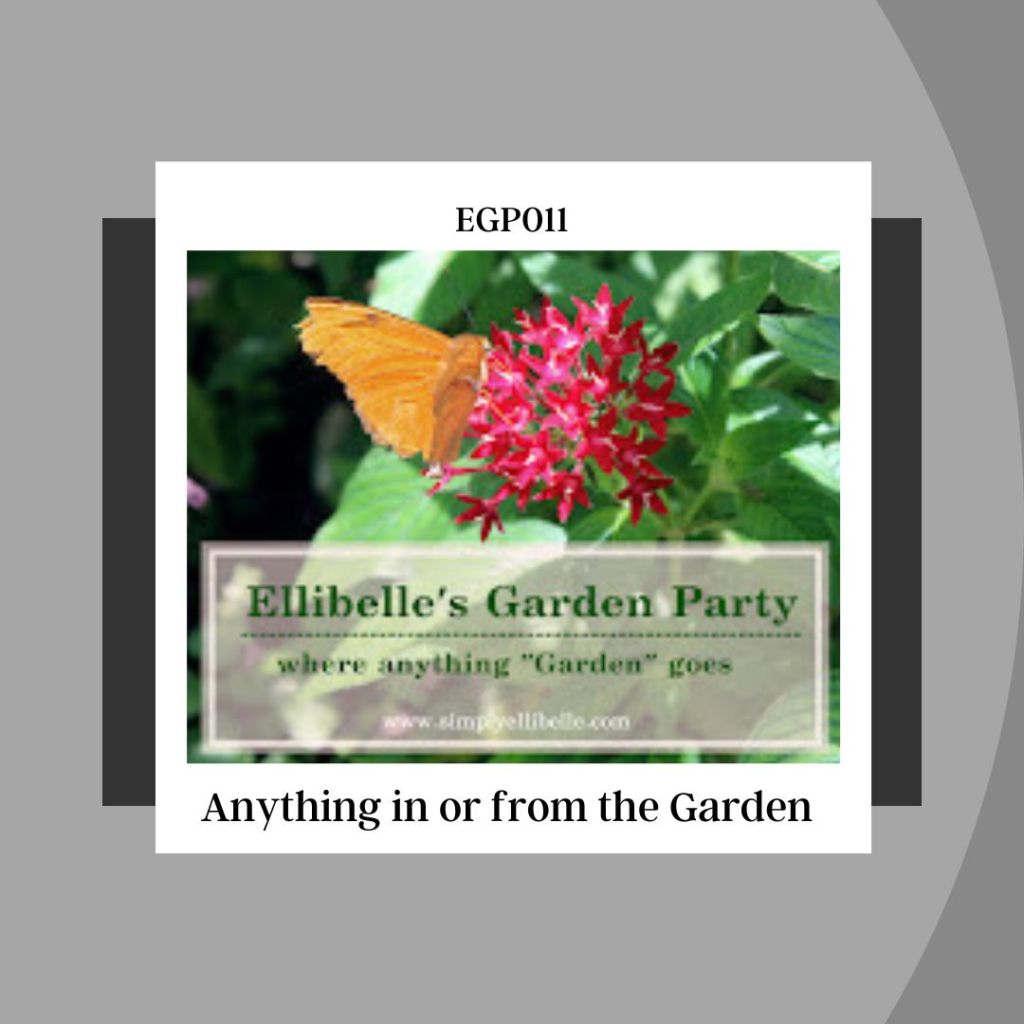
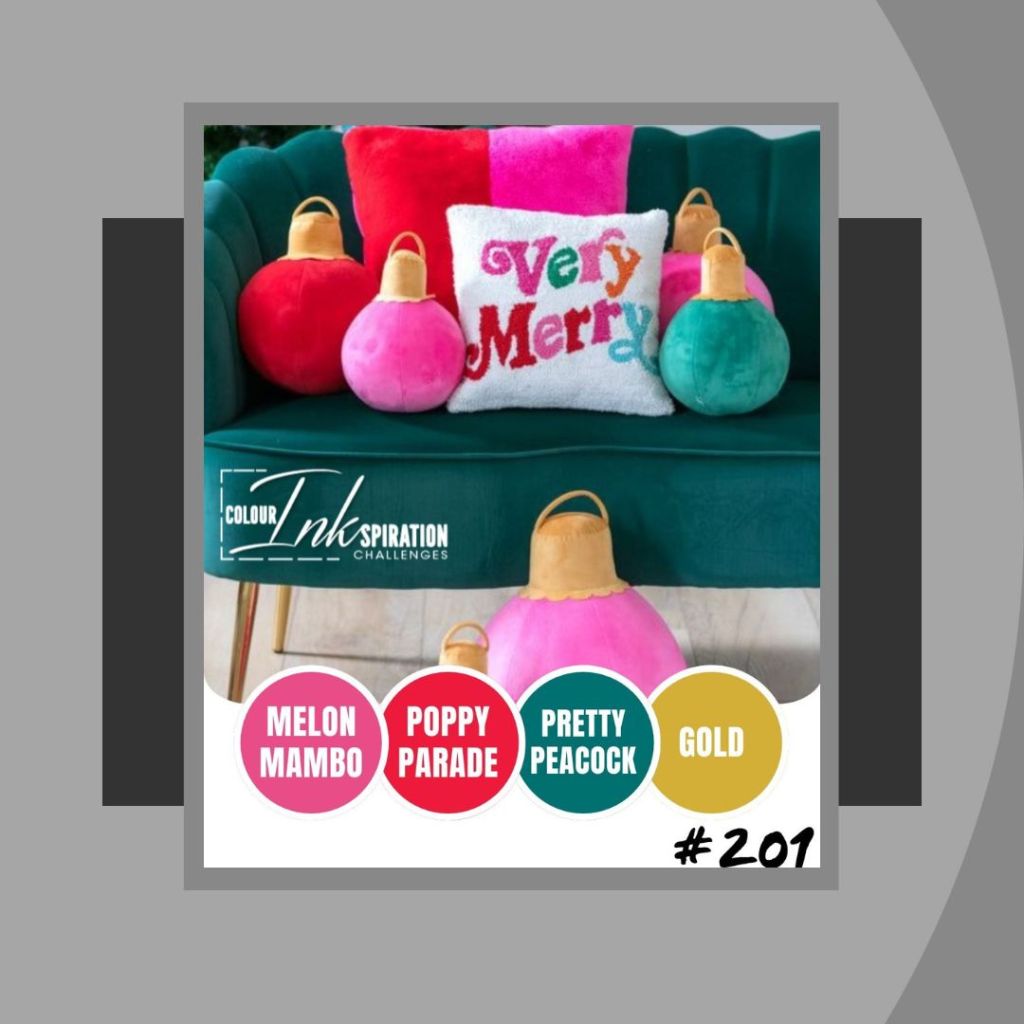
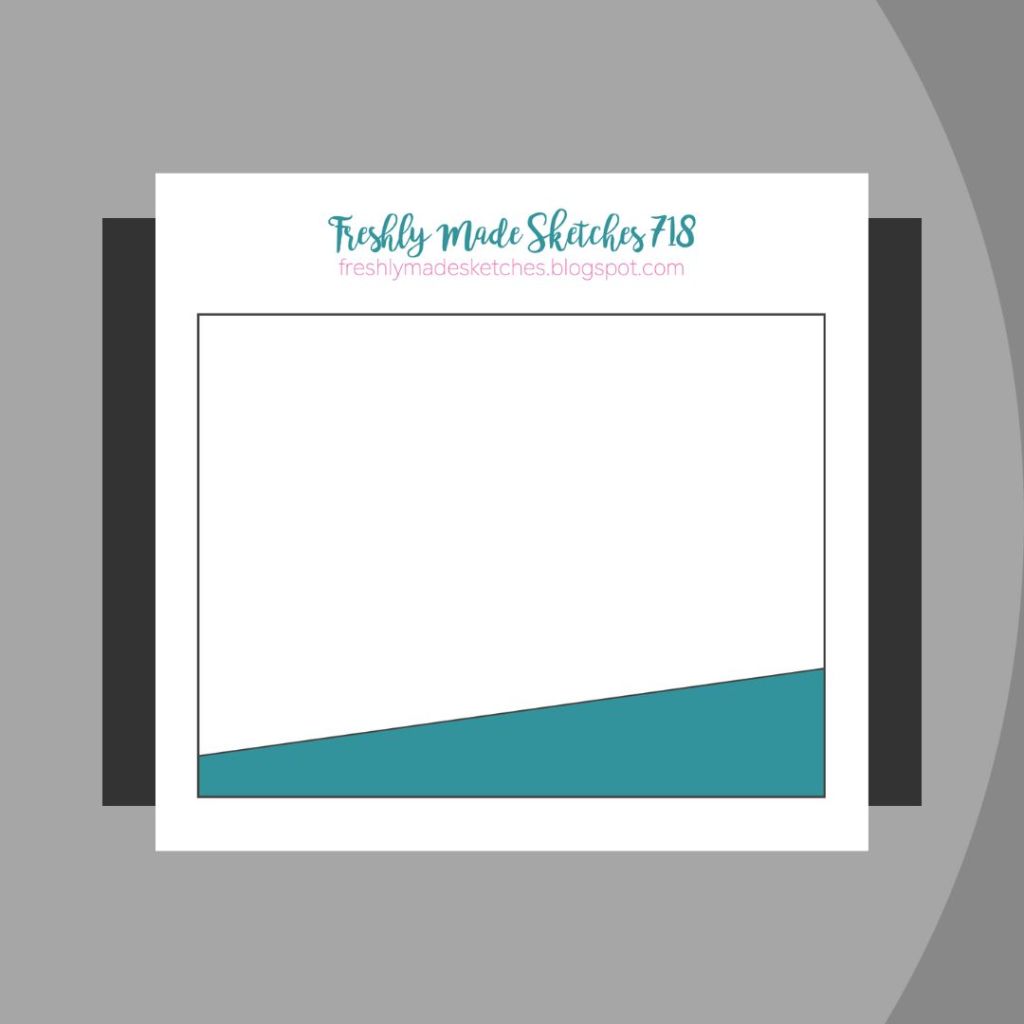
Today’s challenges: Beautiful Blossoms (#36); Ellibelle’s Garden Party (#11); Facebook’s Colour INKspirations (#201); and bringing all my ideas together with the current Freshly Made (#718) Sketch.

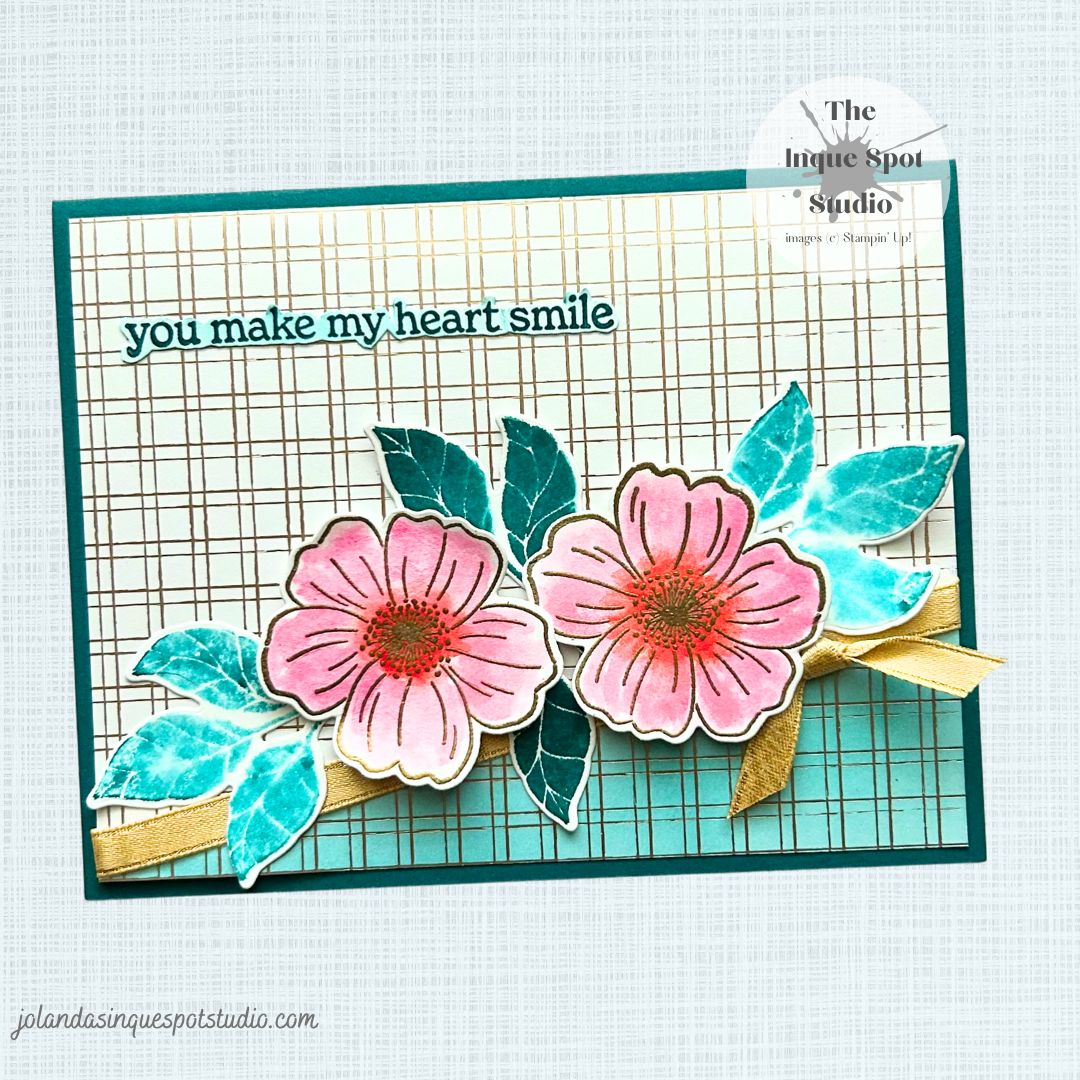
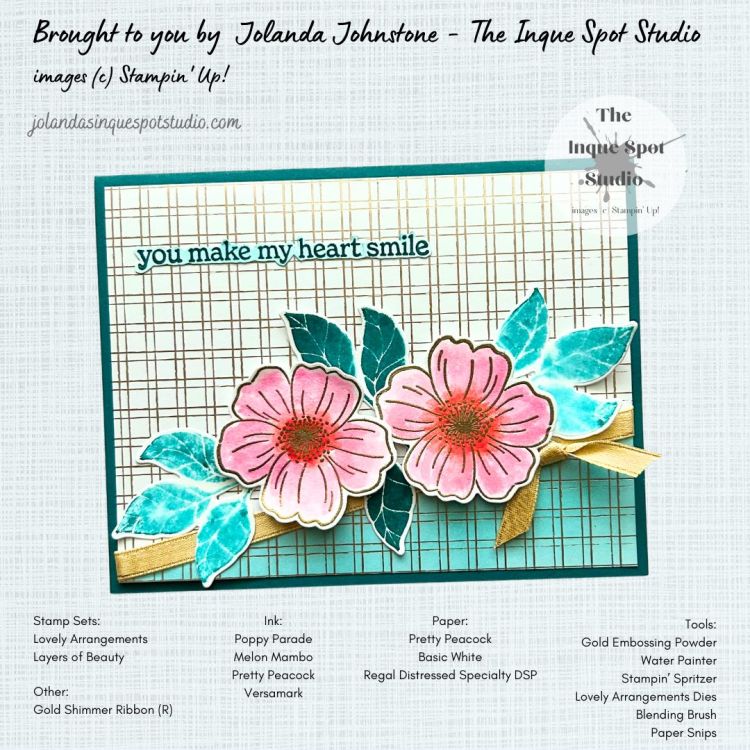
Here is the result:
Steps:
- Card Base: (8½” x 5½” scored at 4¼”) Pretty Peacock cardstock.
- Background Panel: (5¼” x 4”) Gold & White Grid patterned piece of paper from the Regals Distressed Patterns Specialty Designer Series Paper.
- The Panel was masked off with copy paper on the diagonal and Pretty Peacock ink was added with a Blending Brush.
- Diagonal Accent & Bow: (10”) Gold Shimmer Ribbon, retired but still in my stash set. (7”) across the Panel and (3”) tied into a simple Knot Bow.
- Decoration – Flowers & Leaves: (5½” x 4¼”) Basic White cardstock.
- The Floral image from the Lovely Arrangements stamp set, an On-Line Exclusive product, was stamped twice with Versamark and heat-set with Gold Embossing Powder.
- Using the Fine-Tipped Water Painter, both Poppy Parade and Melon Mambo inks were picked up from the Ink Pad Lid to watercolor the Flowers.
- The Flowers were then die-cut with the coordinating die from the Lovely Arrangements Dies set.
- The Leaf image, from the same stamp set, was inked with Pretty Peacock ink and misted with water added to a Stampin’ Spritzer. The cardstock was also misted before stamping to get the watercolor effect. After stamping, the stamp was misted again and restamped to get the 2nd and 3rd Generation color variations.
- The Leaves were then die-cut with the coordinating die from the same dies set.
- Sentiment Label: Basic White cardstock scrap.
- The sentiment, you make my heart smile, from the Layers of Beauty stamp set was stamped with Pretty Peacock ink and then additional color was added with the Blending Brush.
- The sentiment was then closely fussy-cut with Paper Snips. The resultant size is (3” x ¼”).
All elements were adhered to the card base to resemble the sketch. The Flowers and Leaves were arranged along the diagonal with the Flowers popped up with Dimensionals. The Bow was tucked in with a Mini Glue Dot and the Sentiment was added.
A lovely little card…

Thanks for spending some of your time with me today. Cheers, Jolanda!
Need a card? Ask me and I can create one for you. Want the supplies to create your own, let me know and I can help you with that too!
Like this card? Want to make one similar?
I would LOVE to be your Stampin’ Up! Demonstrator. If you live in the United States, you can order your paper crafting supplies from my on-line store. It is so easy. THANK YOU!
If you choose to shop with me today, please remember that every purchase of $20.00 or more will yield 10% in Rewards that can be used on your next purchase. The Mini Spring Catalog is here, and new items have been added to the On-Line Store. Lots of great products. Check out the Last Chance List for retiring products and deals. There are some wonderful choices.

The florals are so sweet and I love the color palette of this design. Thanks for sharing your lovely card with us at The Beautiful Blossoms Challenge, and we look forward to seeing more of your creative designs soon.
Donna xx
LikeLiked by 1 person
Such a pretty floral card and loving these gorgeous colors, a perfect choice for a dreary day!
So great to see you at my Garden Party, thank you!
LikeLiked by 1 person
Thanks, Ellie!
LikeLike
What a great take on the sketch with those gorgeous blooms taking center stage! Such a bright, cheery card and we’re happy that you joined us at Freshly Made Sketches, Jolanda!
LikeLiked by 1 person