Every second Tuesday, three of the Teams that I design for fall together, so indulge me with one more for today.
Facebook Case-ing Tuesday (#486) where we CASE (Copy and Selectively Edit) cards found within Stampin’ Up!’s current catalogs. Today? The card can be found on page 23 of the Sep – Dec Mini Catalog.

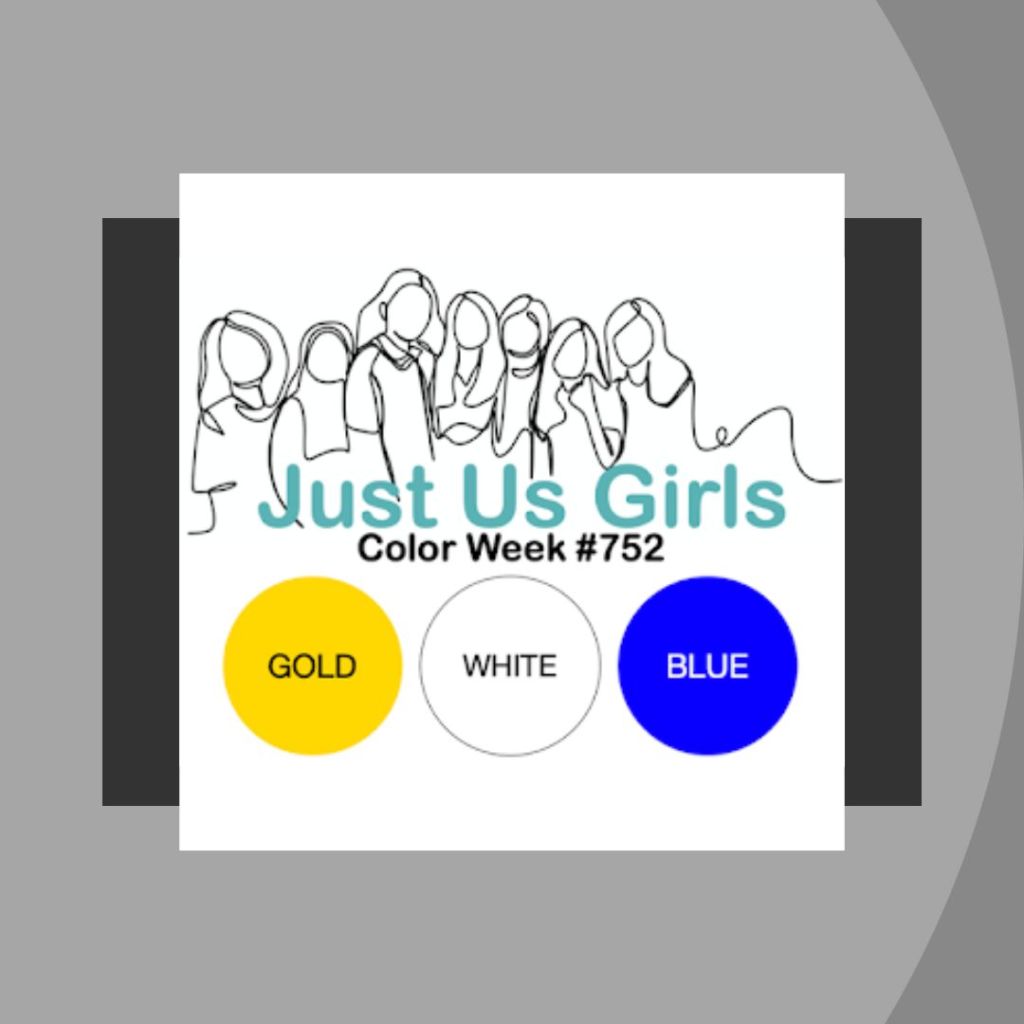
Influenced by a number of challenges, I took a dip into my STASH to complete this card. Just Us Girls (#752) for the Colors; Facebook Global Design Project (#471) for the Ornament; and Park Hopping (November) for the Snow and Color Blue which I am sure must be decorating Cinderella’s Palace.


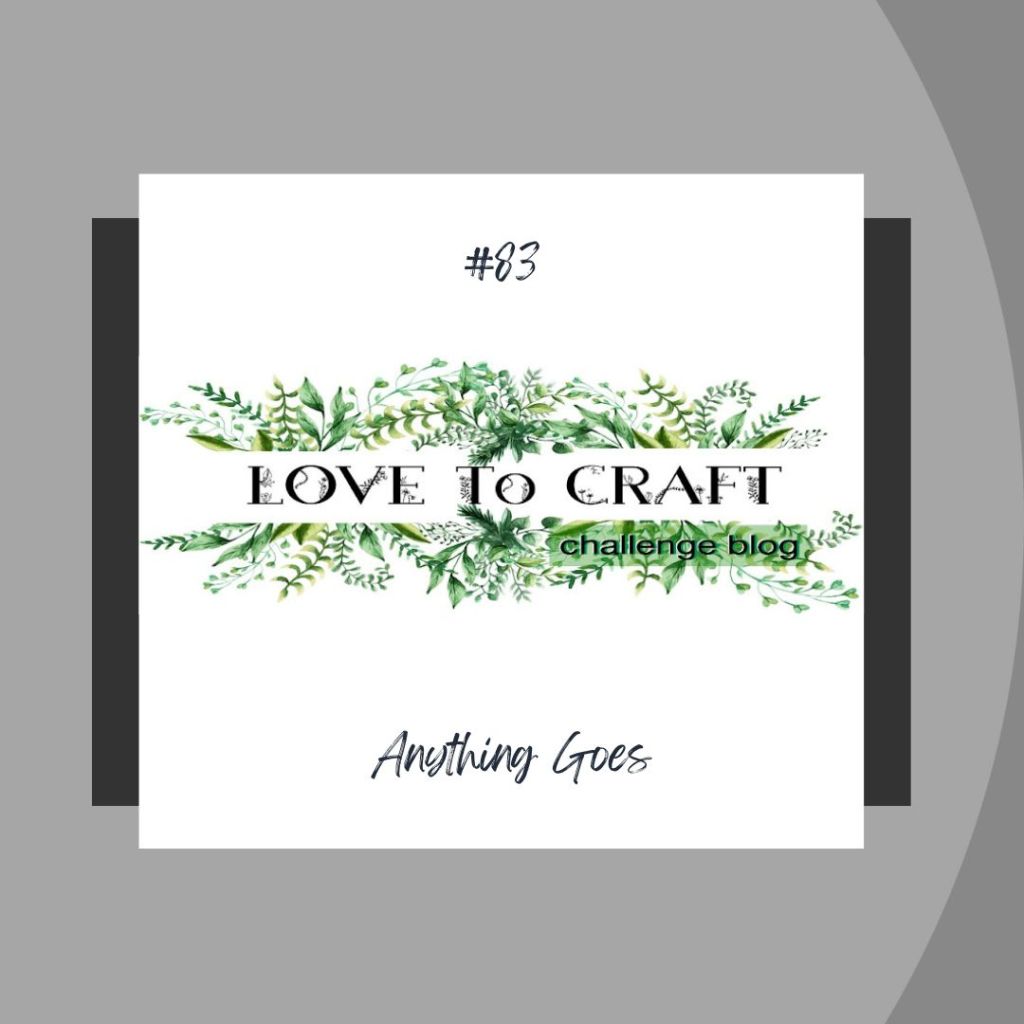
I am also sharing this card with Love to Craft (#83) and Ellibelle’s Crafty Wednesday (November) for their Anything Goes theme.

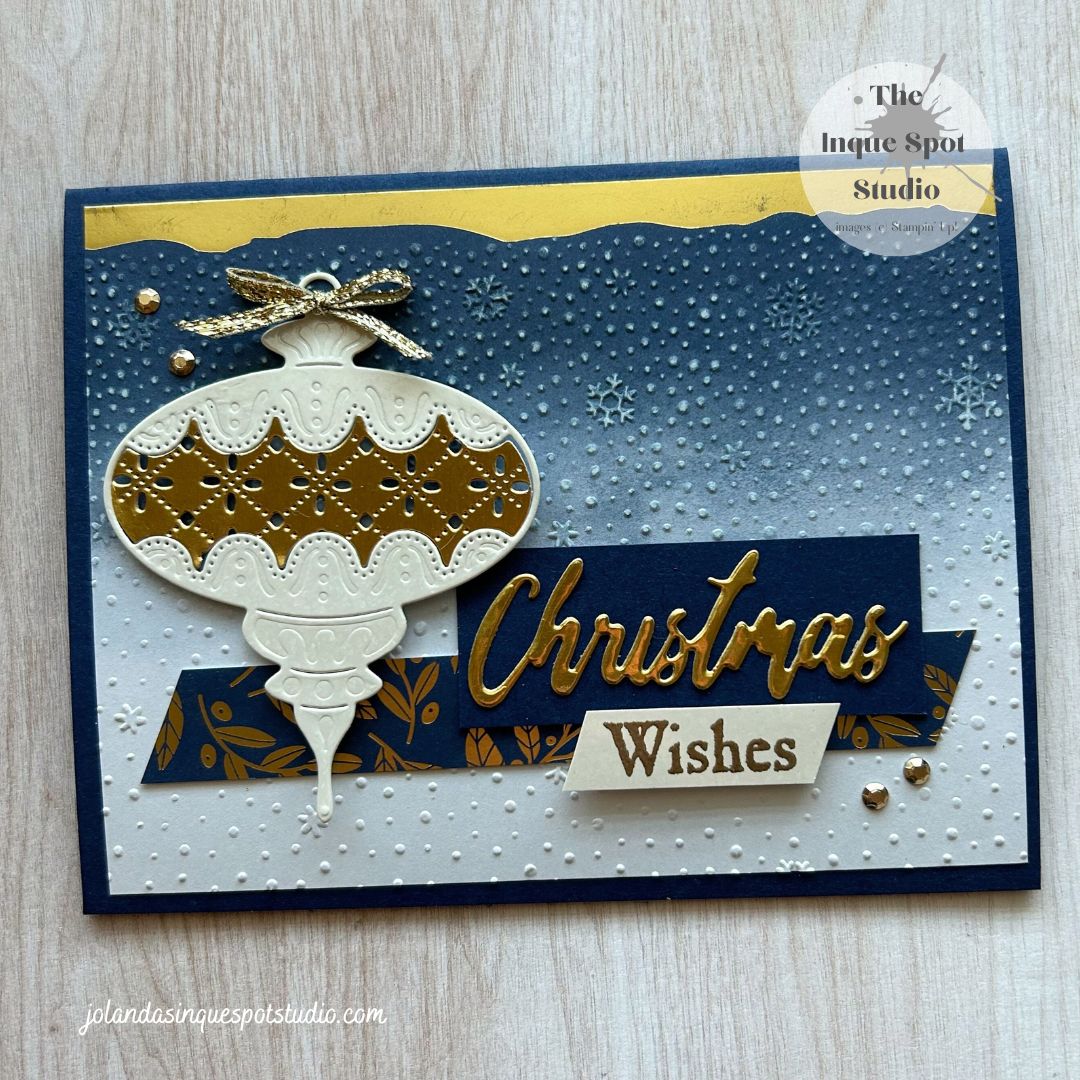
Here is the result:

Steps:
- Card Base: (8½” x 5½” scored at 4¼”) Night of Navy cardstock.
- Background Panel: (5¼” x 4”) Gold Dipped Blue Envelope from the Gold Dipped Mix & Match Cards & Envelopes Pack trimmed to size.
- The panel was dry-embossed with the Snowflake Sky 3D Embossing Folder and the pattern was enhanced with a light rub using a Sanding Block.
- Cross Strip: (4⅞” x ⅝”) Gold & Navy Mistletoe patterned piece of paper from the retired Brightly Shining Specialty Designer Series Paper pack trimmed on the diagonal.
- Sentiment Block (1): (2⅝” x 1”) Night of Navy cardstock and (2¾” x 1”) Gold Foil.
- The word, Christmas, from the retired Word Wishes Dies set was cut and adhered to the Label.
- Sentiment Block (2): (1¾” x ¾”) Mother of Pearl Specialty Designer Series Paper scrap.
- The word, Wishes, from the retired Winter Wishes stamp set was stamped with Versamark ink and heat-set with Gold Embossing Powder and trimmed to (1½” x ½”) diagonally cut.
- Decoration – Ornament: (2½” x 2½”) Mother of Pearl Specialty Designer Series Paper die-cut with the Ornament die from the retired Handcrafted Elements Dies set. The Ornament Inset was also die cut with both the coordinating die and the Ornament die from a scrap of Gold Foil.
All elements were adhered to the card base to resemble the sketch. The Ornament and the Wishes Sentiment were popped with Dimensionals. A small Gold Trim Bow was affixed to the Ornament and a few Gold-Toned Adhesive-Backed Metallic Gems were added for a bit of bling.
Happy Holidays!
Looking forward to seeing how you choose to use the sketch.
Thanks for spending some of your time with me today. Cheers, Jolanda!
Need a card? Ask me and I can create one for you. Want the supplies to create your own, let me know and I can help you with that too!
Like this card? Want to make one similar?
I would LOVE to be your Stampin’ Up! Demonstrator. If you live in the United States, you can order your paper crafting supplies from my on-line store. It is so easy. THANK YOU!
If you choose to shop with me today, please use HOSTESS CODE: DZWTKAP3 (November 2024) if you spend less than $150.00. Take a look at the new Mini Catalog and the new Scrapbooking Brochure. Visit the On-Line Store to see all the new Exclusive Products available. There are some really wonderful choices.

Your classy ornament card is beautiful – and such a lovely combination to showcase gold, blue and silver. The snowy background is a pretty added touch. Thank you for joining us at Just Us Girls.
~carol
LikeLiked by 1 person
Beautiful – love the ombre background. Thanks for sharing with us at Love to Craft challenge
LikeLiked by 1 person
This is absolutely gorgeous! I love that beautiful ornament against that snowy background. Beautiful use of our colors this week. Thanks for playing along with us at JUGS!
LikeLiked by 1 person
So loving this color scheme and a fabulous sketch too! Thanks so much for sharing at my Crafty Wednesday challenge!
Ellie
Ellibelle’s Corner
LikeLiked by 1 person